Check Out This Cheap And Easy Way To Re-Do The Flooring In Your House Using Paper Bags
#1
Renovating your house or apartment can really dip into your savings. You can usually save a bit here and there on paint or wallpaper, but flooring always costs an arm and a leg. That is, if you don't settle for the most basic short-pile grey carpet. A beautiful, easy-to-care-for floor for just one room costs at least several hundred dollars. But we have a secret, money-saving trick - paper bags!
All you need is:
At least one roll of plain packing paper (order online), or lots of plain paper bags in the same color
Large quantity of craft glue (available online or in craft stores)
Indoor wood varnish in your preferred color
Polyurethane paint
Paint roller, or an old, flat floor sponge
Bucket
#2
And here's how you do it:
A paper floor is suitable for concrete, plaster, or plywood base floors. Before you can begin, make sure you clean the floor well and remove any old flooring. Old carpet glue must be completely gone. All baseboards should also be removed. If there are holes or any major uneven sections of the floor, they must be evened out before you lay the paper.
In order for the paper to stick, smooth floors must be given a slight texture. You can do this by going over the entire floor with a sanding machine. Afterwards, clean away all of the sanding dust and allow the floor to dry.

#3
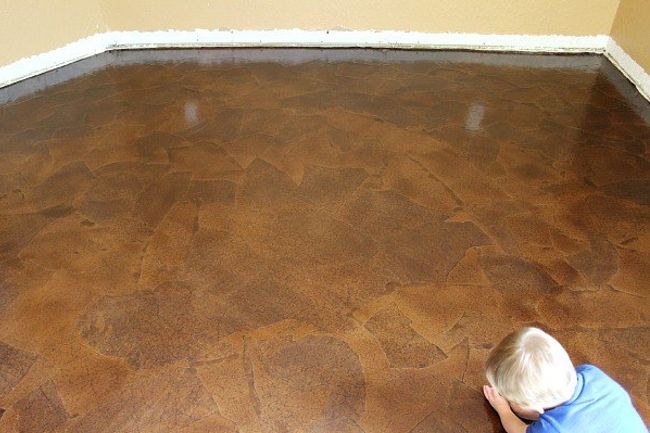
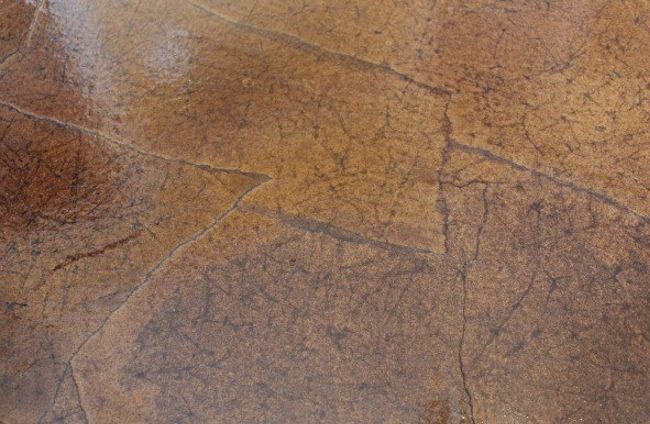
Next, tear the paper or bags into large pieces and crumple them a bit. This process will make the paper look more like natural stone.
If you have concrete floors, create a mixture of half water and half glue. If you have wooden floors, then mix 75% water and 25% glue. Brush the glue mixture on the floor, lay a piece of paper down and spread glue on top of the paper as well.
#4
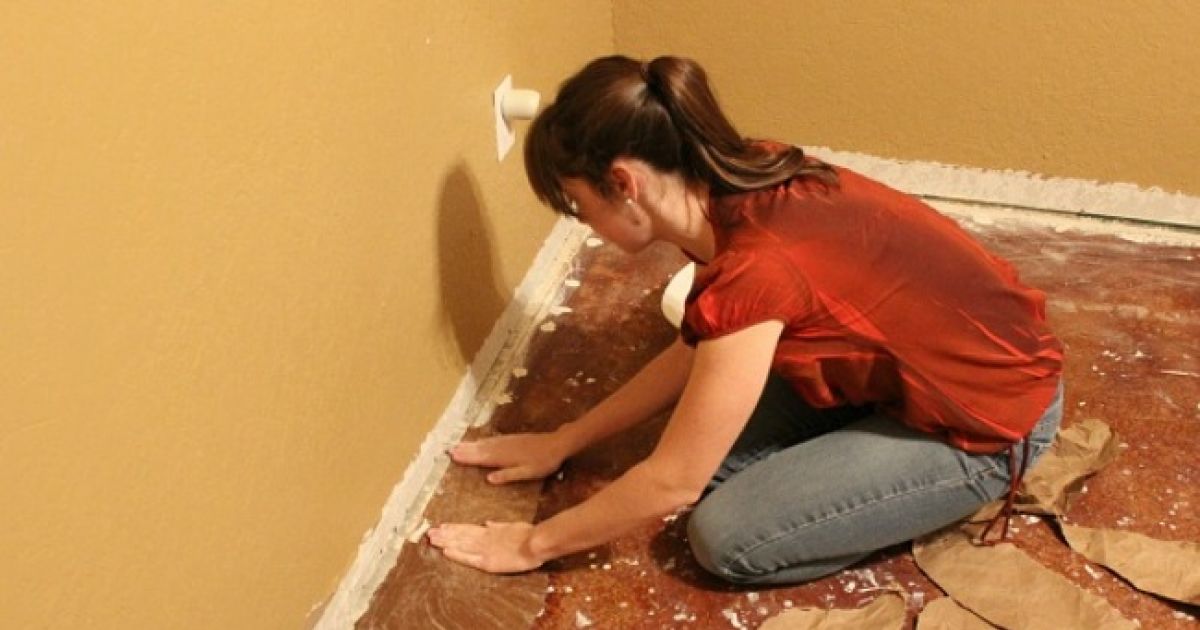
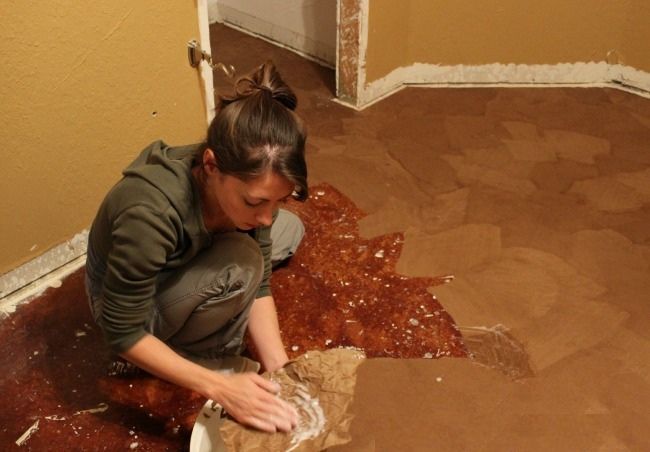
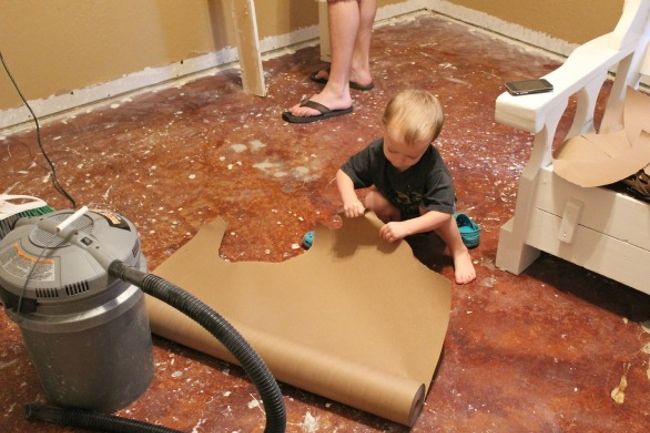
Repeat this bit for bit across the entire floor, moving from the edges to the center of the room. Make sure that the pieces of paper overlap. The paper spreads when it is wet, but it will shrink when it drys.
Once the entire floor is covered, let the paper and glue dry completely. The next step is to seal the floor with indoor wood varnish. If you like the natural color of the paper, then choose a transparent coat. Be careful to equally apply the sealant across the floor. An old flat floor sponge or a wide paint roller should do the job.
#5
Once the varnish has dried, you should apply several coats of polyurethane paint. Always allow the floor to dry completely between coats. Once you've applied the final layer, let the floor dry for several days. Then it will be more resistant to nicks and scratches.
#6
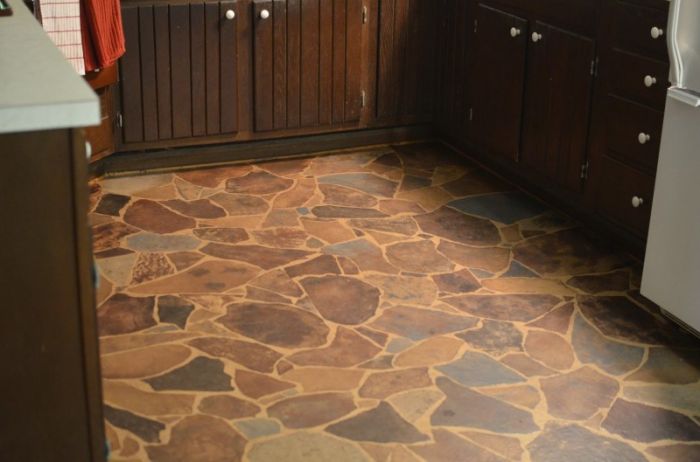
You can also use different tones of wood finish, painting individual "stones." That will give the floor an even more natural look.
#7
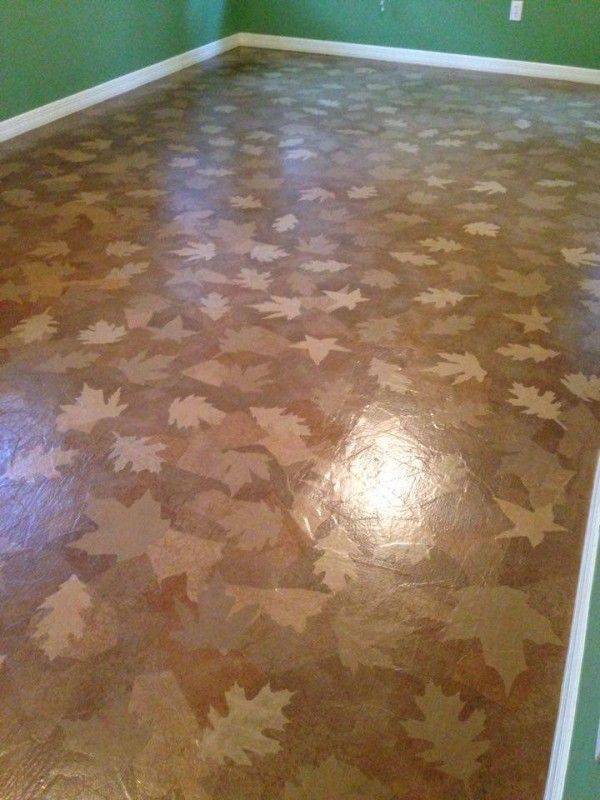
Or you could cut out distinct shapes from the paper and make a pattern. This makes the floor completely unique!
This is a massive project not to be taken lightly. But all of your blood, sweat, and tears will be paid off by a beautiful, low-cost floor that looks like expensive natural stone.