Weighted blankets have a great deal of benefits, not only for people on the autism spectrum, but for anyone with restless muscles, insomnia, ADHD, or a number of other sensory disorders.
advertisement
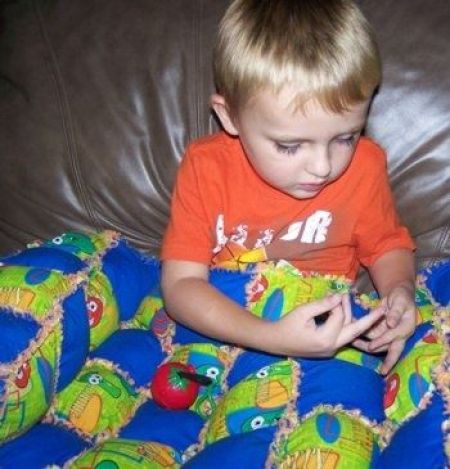
Weighted blankets may take some time to make, but they are definitely worth it!
Weighted blankets can be made from a variety of materials to suit the individual, depending on the tactile sensitivity of the user or how it is being used. There are plenty of options for fabric I have heard about, felt and seen, but cotton and flannel seem to be the most popular choices. You can do one on each side if you want!
The proper weight should be 10% of body weight, plus 1lb
(i.e. ideally a 40lb child should have approximately a 5lb weighted blanket).
advertisement
Oral children may chew on the blanket/pad, which could be dangerous for the child, so you must decide if this is a good option for your child.

Weighted blanket materials:
1 pound of Quality Plastic Pellets per 10 pounds of weight for the user, plus one extra pound
Fabric of your choice
2.5 yds. of fabric for the top of the blanket
2.5 yds. of fabric for the bottom of the blanket
Thread
Scissors
Measuring Tape
Ruler
A small scale
Pins
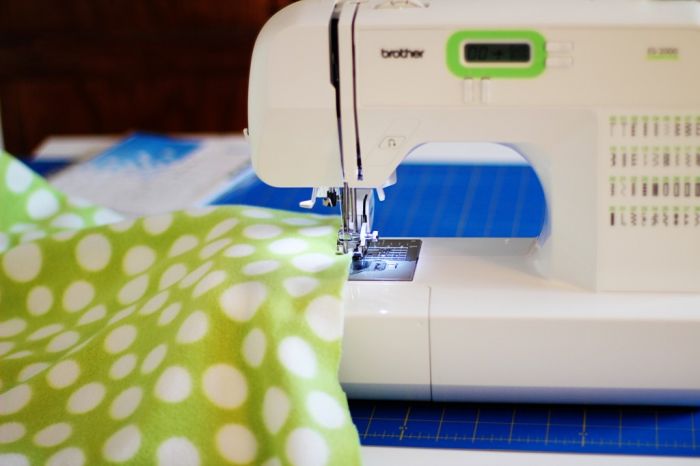
Sewing machine
advertisement
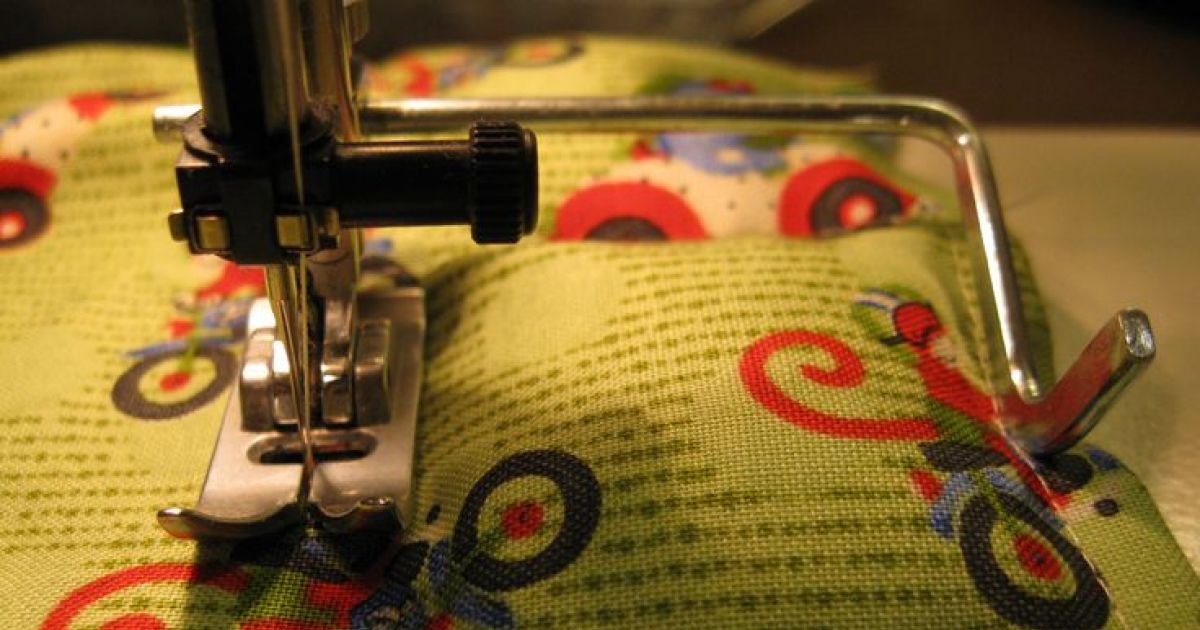
Stitch your fabric together on three sides:

advertisement
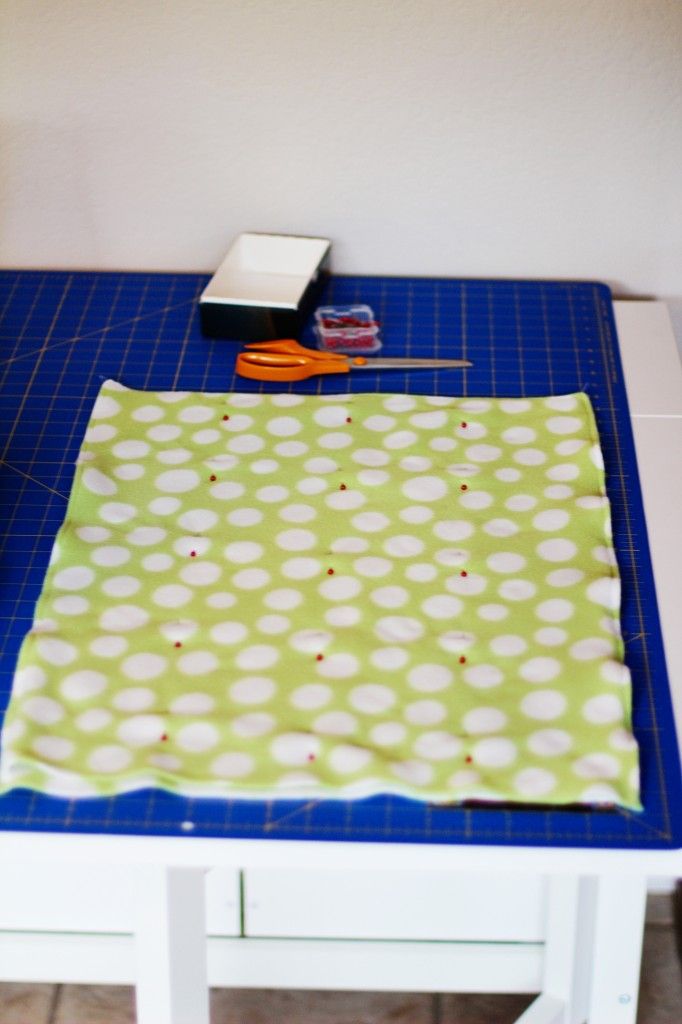
Measure sack’s length and width and decide how many squares you will make.
I decided to make ~4" squares, so the blanket would be 4×6 squares. Place pins marking where the seams will go.
advertisement
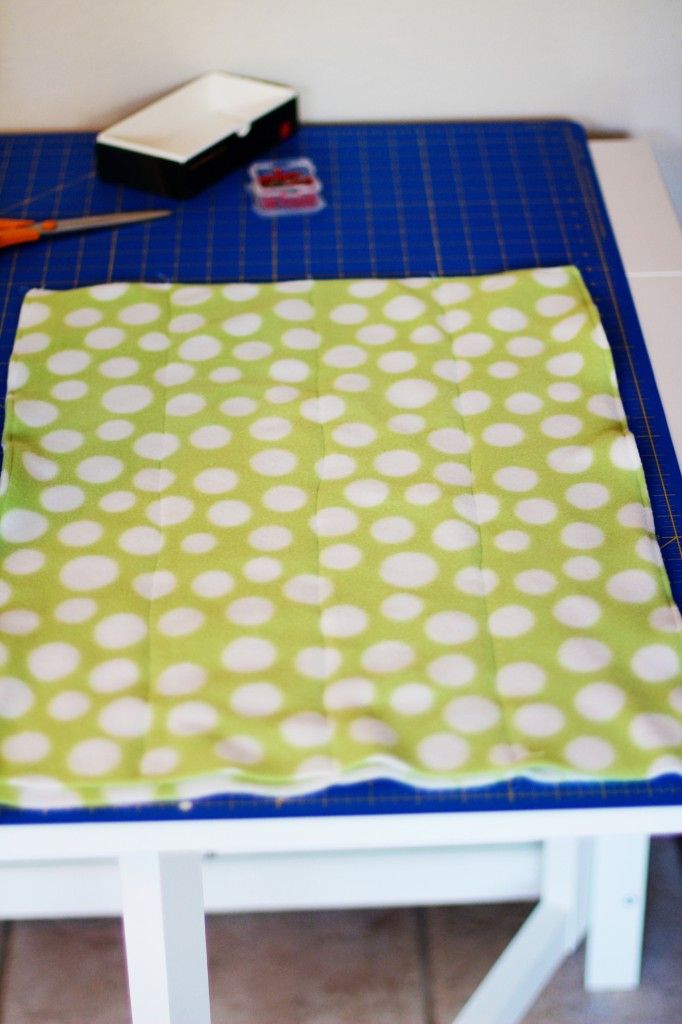
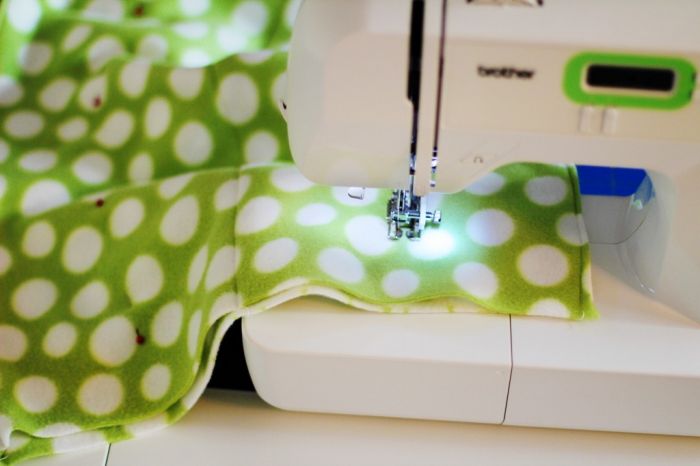
Stitch vertical columns.
advertisement
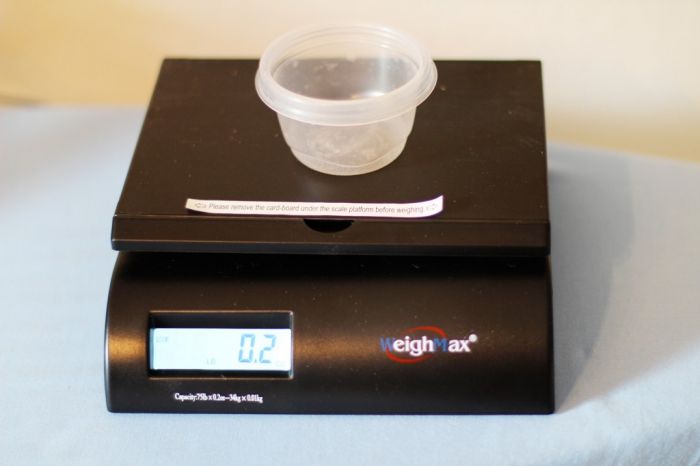
Divide total weight or volume of pellets by the total number of squares you will have.
I knew I needed about 1.33oz in each of my 24 squares, so I used my husband's shipping scale to see what kind of volume weighed that much, then found a measuring cup that was closest to that volume to use as a scooper.
advertisement
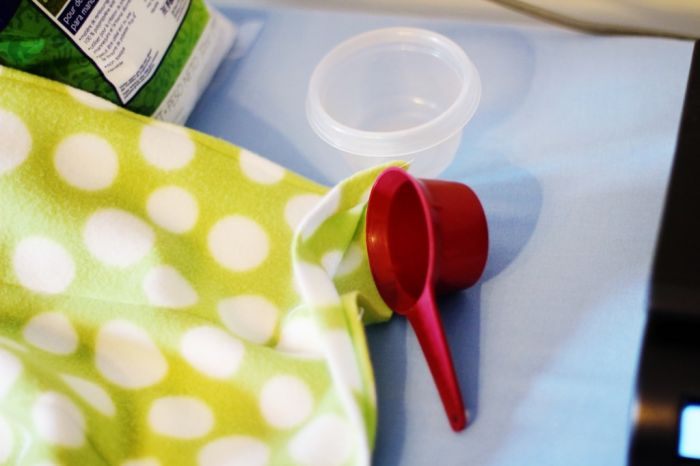
After the channels are formed, scoop the correct amount of pellets per square and pour it into each channel.
advertisement
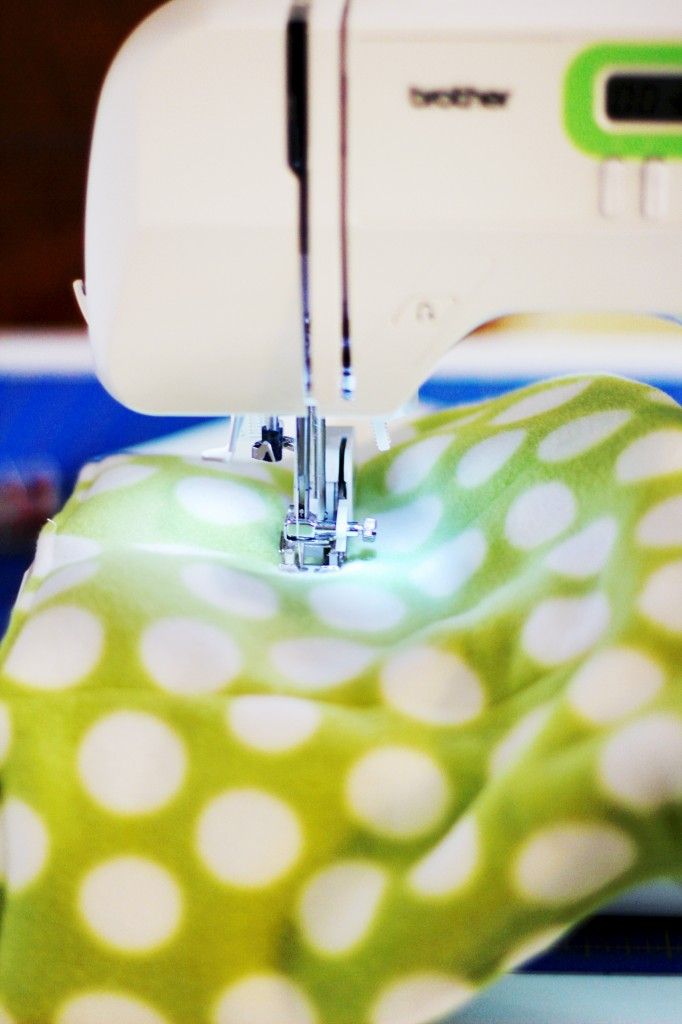
Once all of the columns have been filled, stitch across that row
advertisement
Repeat until the last row is full of pellets and open at the top.
advertisement
Fold the top edges inward.Top-stitch the top folded edges. Go back and sew along your seam again.
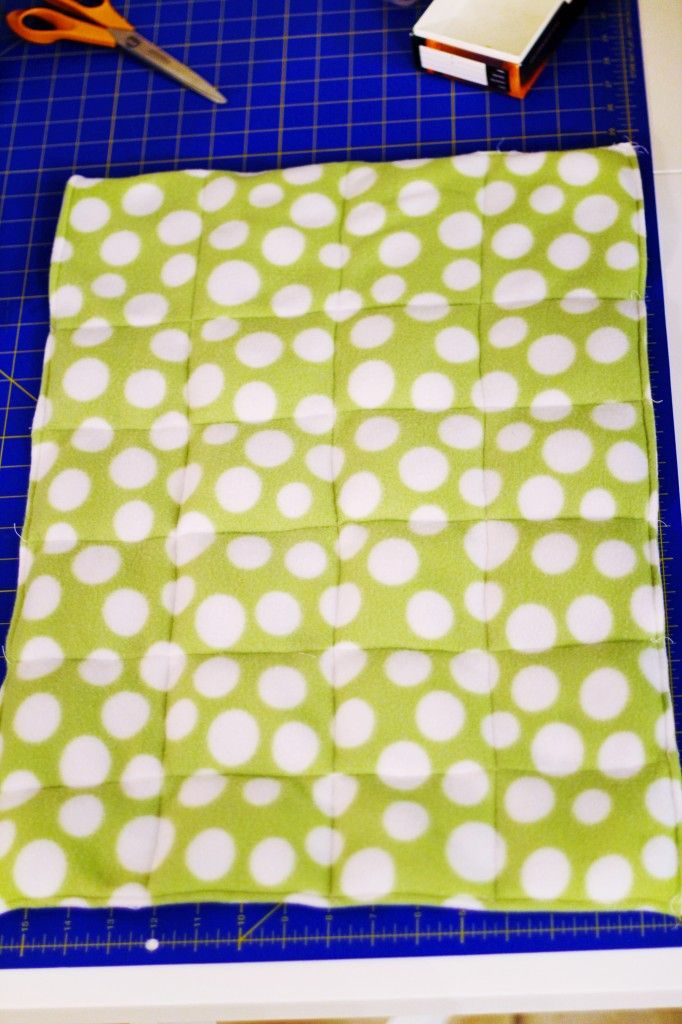
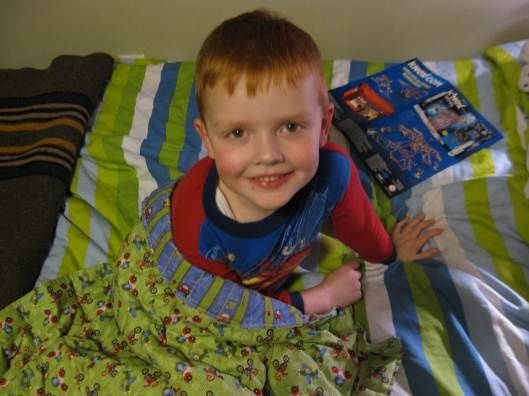
The blanket is finished!