Blisters on your feet? They are painful—annoying at best, debilitating at their worst. If you're the unfortunate sufferer of foot blisters, follow these steps for treatment, and you'll be back on your feet in no time!
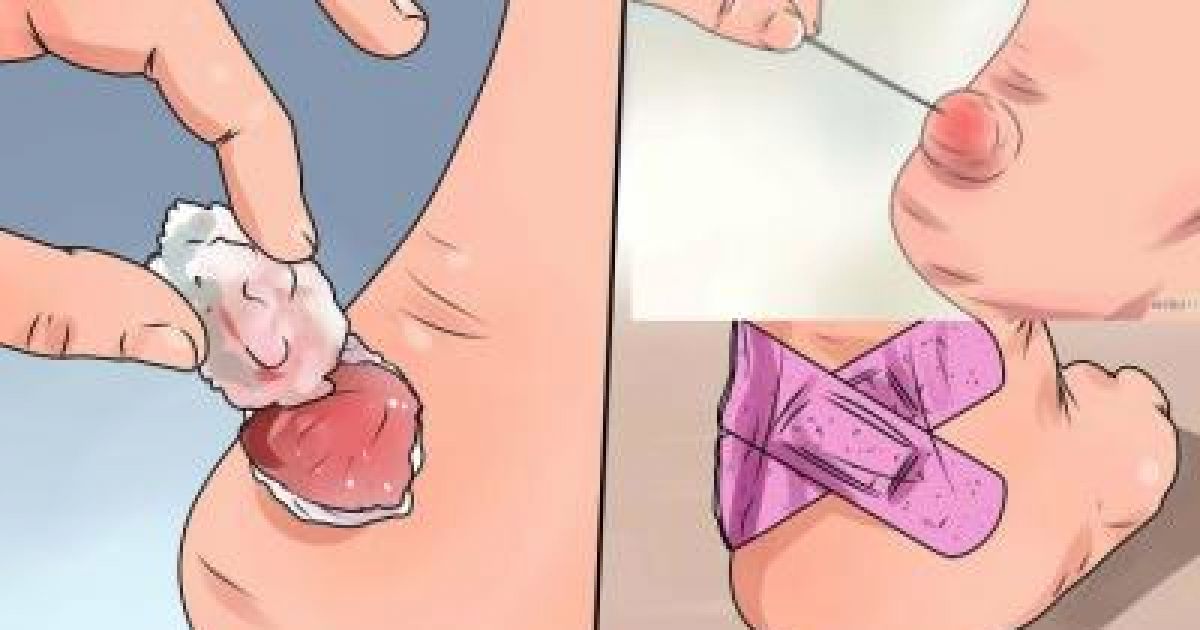
Don't Panic If You Have These On Your Feet. Just Follow These Simple Steps
By
Michael Avery in
Health and Fitness
On 21st January 2016
advertisement
#1 Early Treatment of Pre-Blister Hot Spots
Know that blisters often develop when faced with friction, heat, dirt, and moisture. These factors are present when hiking, doing gymnastics or figure skating, especially with inappropriate socks or boots. They are frequently caused by wearing that brand new pair of footwear for extended periods, without any break-in time, so the shoes are stiff and unforgiving. Compared to your soft, tender skin, it's no match!
Follow these steps used to prevent blisters to minimize their growth:
If you can, spend some time breaking in your new shoes so that the shoes have a chance to conform to your foot shape, and your foot has had a chance to be conditioned to being rubbed the wrong way.
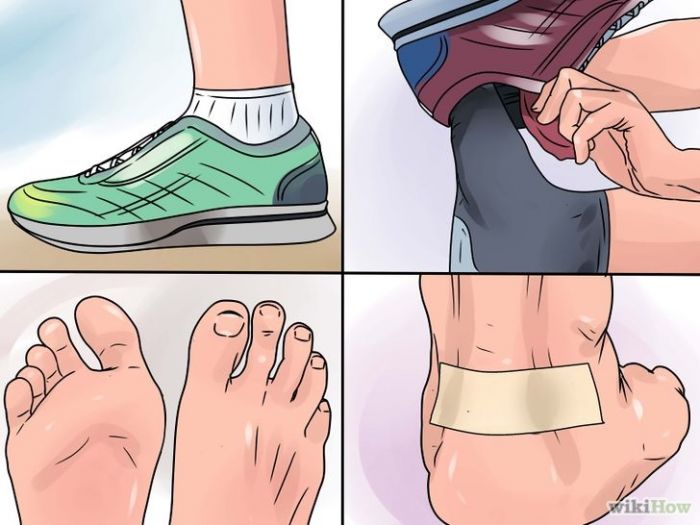
Remove the hiking boot or uncomfortable shoes that might be causing the warm spot which will soon become a blister.
Try to let your feet cool down and dry out.
If you keep walking, cover the area with moleskin, zinc oxide tape, or a bandageanything to reduce the heat and friction on the area which might become a blister.
#2 Treating a Formed Foot Blister
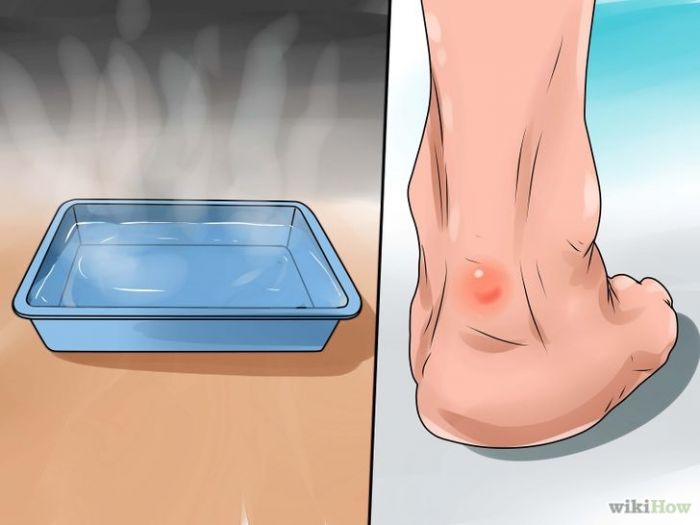
Clean around the area of the blister with warm water and soap. Consider adding anti-bacterial ointment.
advertisement
#3 To pop, or not to pop
Decide if you want to let the blister heal by itself or whether you want to drain it. As a general rule of thumb, if the blister is not making walking painful, then you should let it heal by itself.
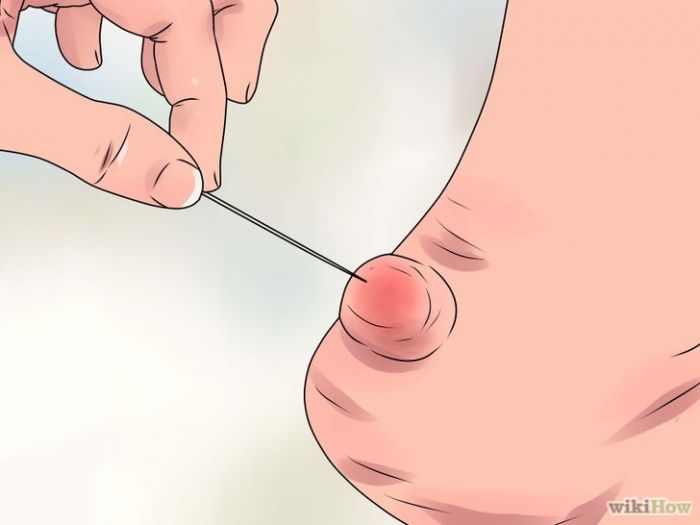
If it is impractical to let the blister heal, treat it by draining it. Start by sterilizing a needle with alcohol or boiling water, or use a pre-sterilised medical hypodermic needle.
Carefully Insert the needle at the side and base of the blister. Allow all the liquid to drain.
Do not remove the loose skin that covers a blister, as this opens it to infection.
#4 Disinfect the blistered area
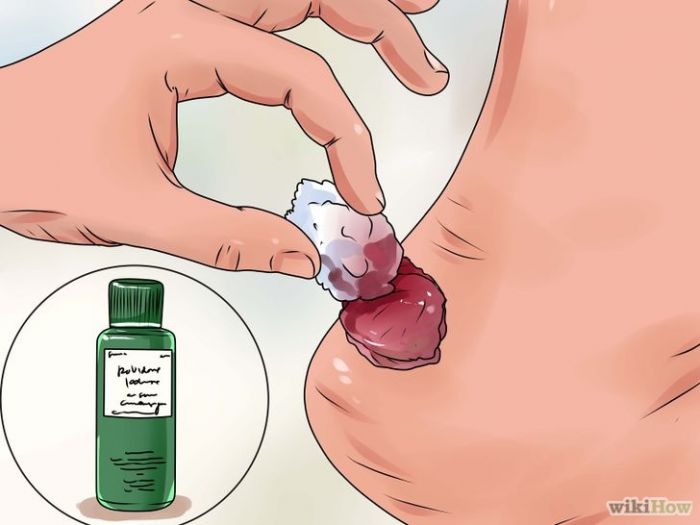
Apply some povidone-iodine antiseptic to the blister site. This may sting slightly, especially if applied from a cold spray, but will help to ensure the site doesn't get infected now that it's open.
advertisement
#5 Cover the blistered area
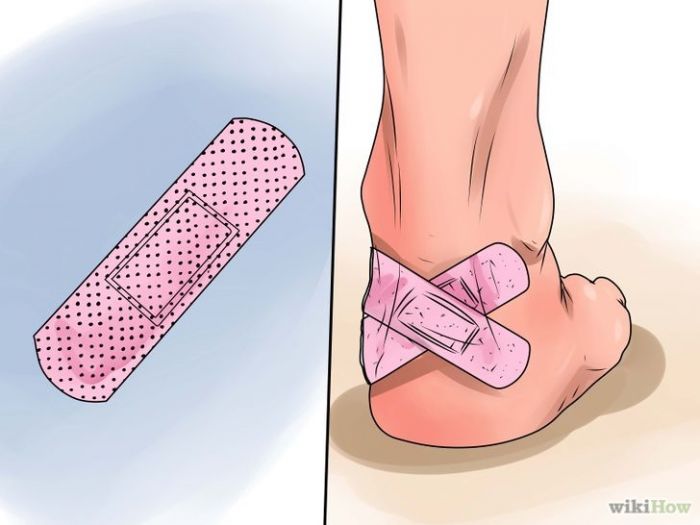
Use a gauze bandage, plaster, moleskin or other protective cover. Try to use a low-adherent or non-adherent dressing where possible as this will be easier to change without disturbing the healing skin underneath.
Don't exacerbate the damage. If you continue the exercise which caused the blister in the first place, apply a measure of iodine antiseptic, cover with a non-adherent dressing and secure in place with a strong tape such as zinc oxide. This will prevent infection, allow easy dressing removal, and secure the site against further friction respectively.
Do not use duct tape! It is not intended for use on human skin and can further damage the blister or surrounding areas. Think about gripping the blister skin and tearing it with a pair of pliers. That's what duct tape will do for you.
advertisement
#6 Keep it clean
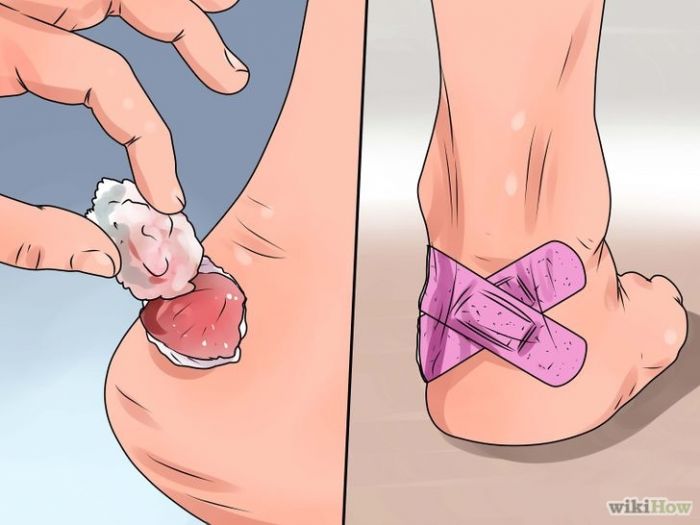
Check the blister daily and continue to keep it clean, applying further iodine antiseptic where required.
advertisement
#7 Now wasn't that easy?
Pat yourself on the back. You did that all by yourself. Go You!