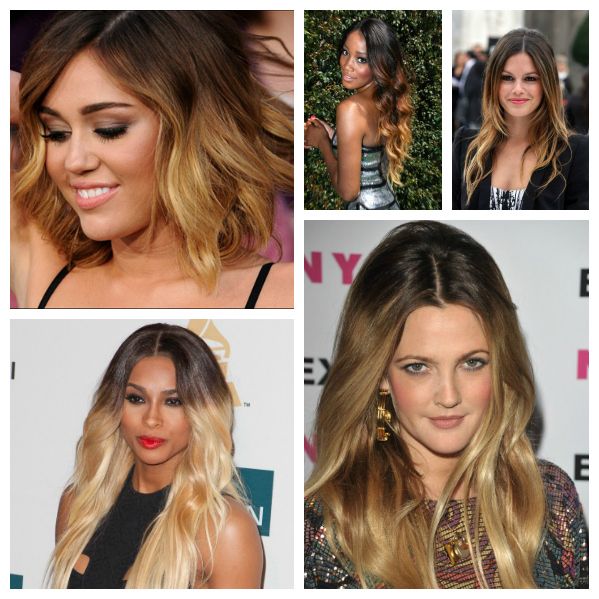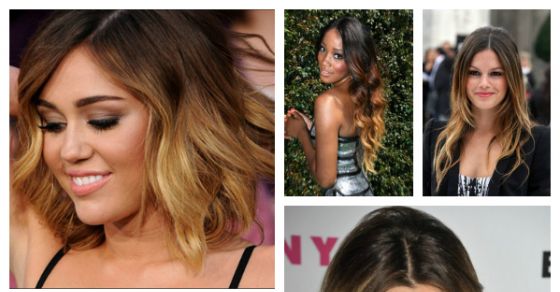
Want to get the Ombre look you are seeing everywhere in magazines and on TV? This simple tutorial will help you achieve salon results at a fraction of the cost.
advertisement
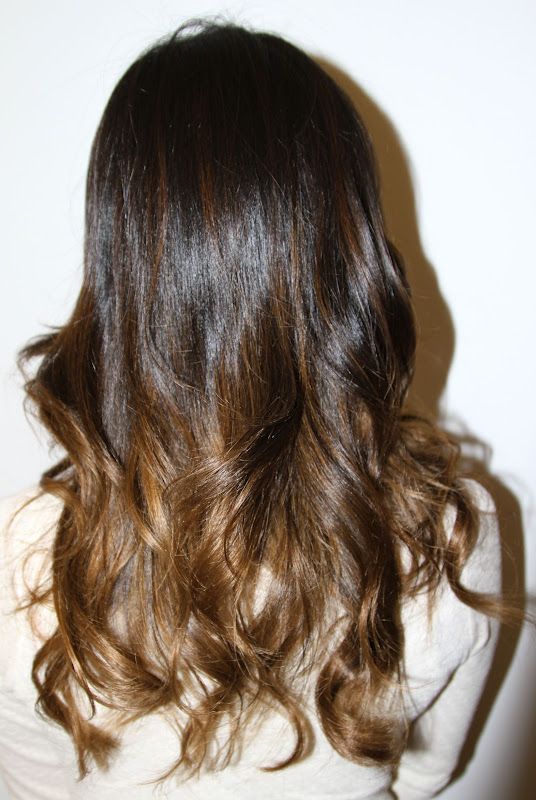
#1
What you need:
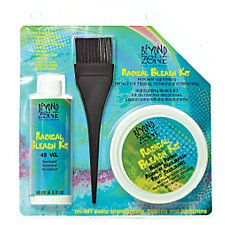
A home highlighting kit (You can purchase this at most beauty supply stores or online). Don't get blond dye as that won't lighten your hair.
Rubber gloves
A clean mascara wand (Make sure it's thoroughly washed and dried)
An old shirt and towel
A clock or stopwatch
Make sure your hair is HEALTHY before you try this. It's not a bad idea to get your ends trimmed before you begin. You will likely enjoy the end result more if you have a fresh cut.
#2
How to:
1. Open the highlighting kit and mix up the dye as directed on the pack.
2. Brush dry and unwashed hair.
3. Using a mascara wand, apply the dye to the bottom few inches of my hair, and then rub it in with your hands (in gloves!). I kept the dye way below my chin line, but how far you go up will probably depend on your hair length and how obvious you want it.
4. Use the wand to do a few lighter strands up the hair a little so you don't get a harsh line.
5. Wrap your hair up in an old tea towel and pin it to the top of my head while waiting. You don't want to get any of the bleach on your skin.
6. Check the color after 10 minutes by removing some of the dye re-cover if it's not light enough or wash out if it is. I kept mine on for 20 mins and then washed out. I then quickly blowdried to get an idea of the actual color change.
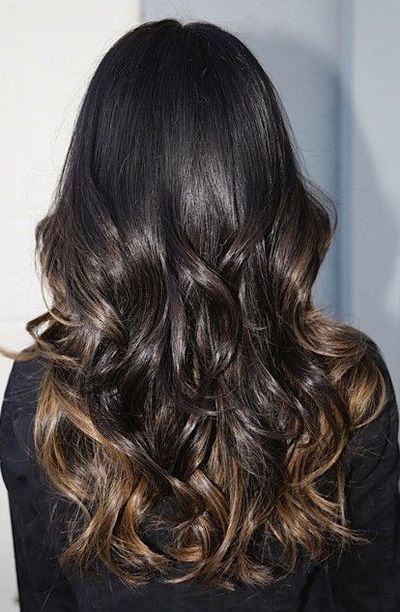
7. Apply the dye again but this time only to the ends for 10 mins. This is to get a gradual change in color and an ombre affect. You can do this as many times as you like until you get a look that you like.
8. Wash out, deep condition and style.
advertisement
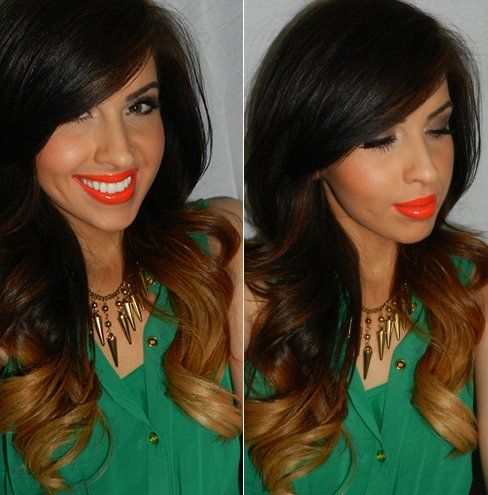
#3
Your results will vary depending on your natural color. Be sure to check your hair every 10 minutes and wash out immediately if you see any breakage occurring.
#4
advertisement
#5