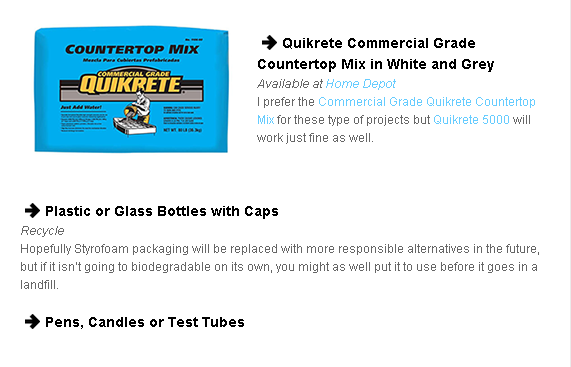
#1 SUPPLIES
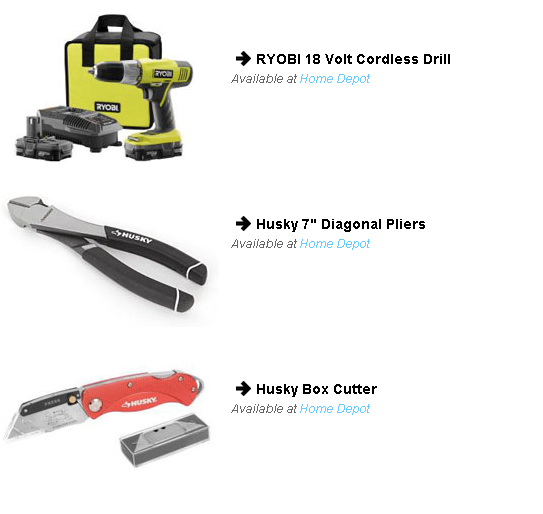
#2 TOOLS
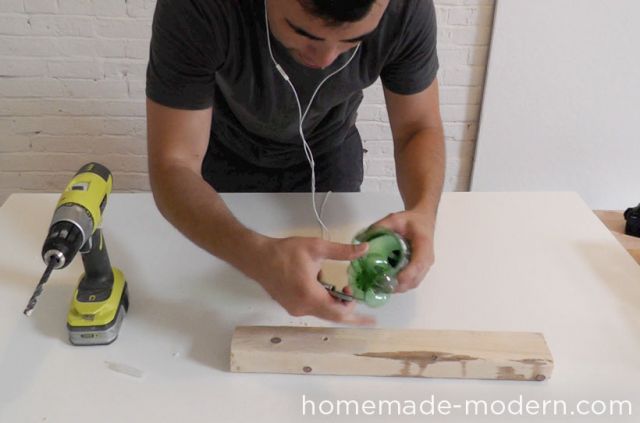
#3 STEP 1: Cut the Bottle
It is easiest to fill the bottles from a large hole, so cut off the bottom of the plastic bottles. Glass bottles need to have a wide mouth to be filled from the top.
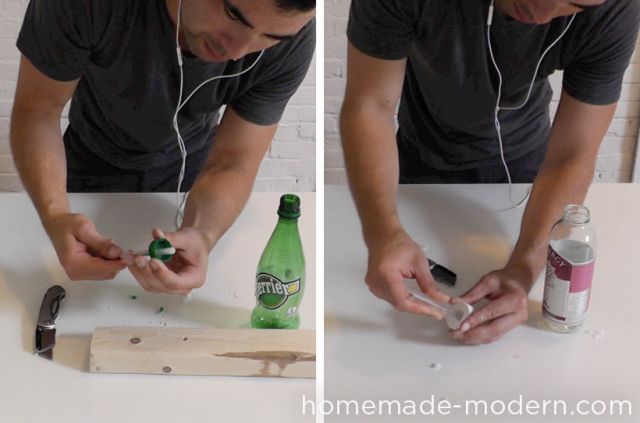
#4 STEP 2: Drill a Hole in the Caps of the Bottles
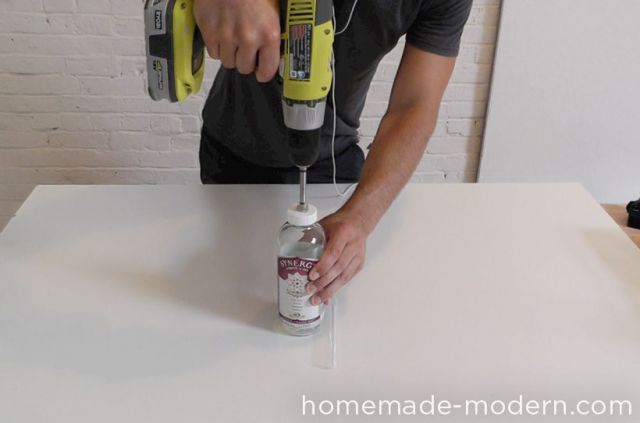
#5 STEP 2: Continued
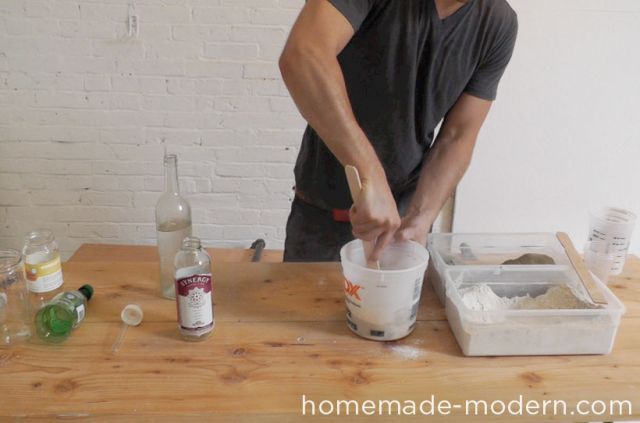
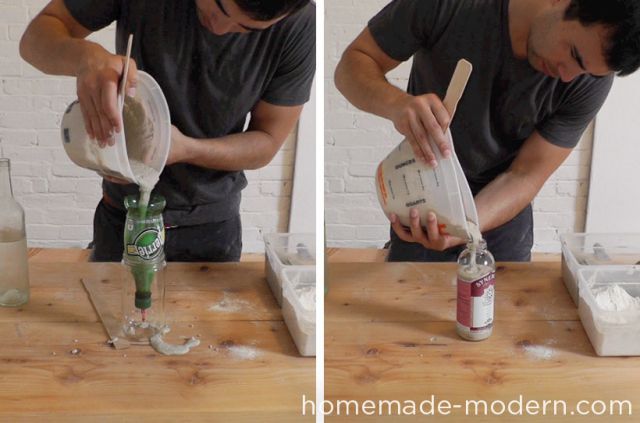
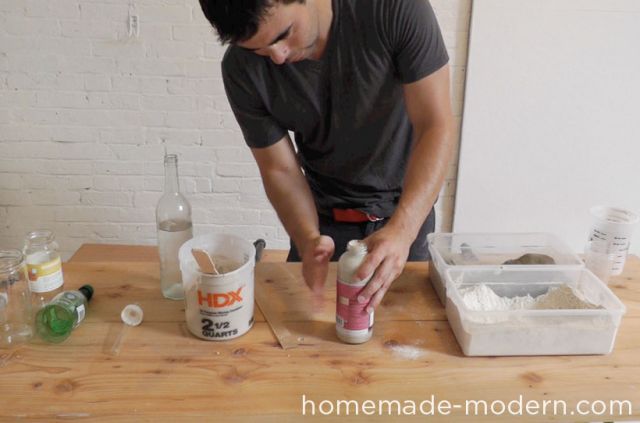
#6 STEP 3: Mix the Concrete and Fill the Bottles
Make sure the bottles are clean and then place them in a stationary position where they can be filled without falling over. Mix the concrete and spoon it into the bottles. Make sure you push the wet concrete down into the bottle. Tap and vibrate the full bottles to bring air bubbles to the surface. I used 2 different colors of Quikrete to get different shades of grey.
#7 STEP 3: Continued
#8 STEP 3: Continued
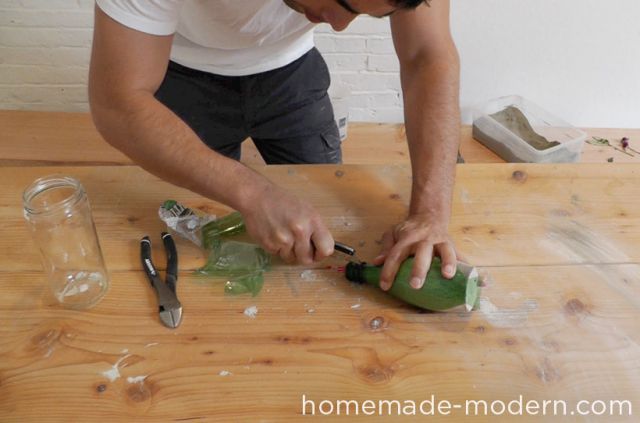
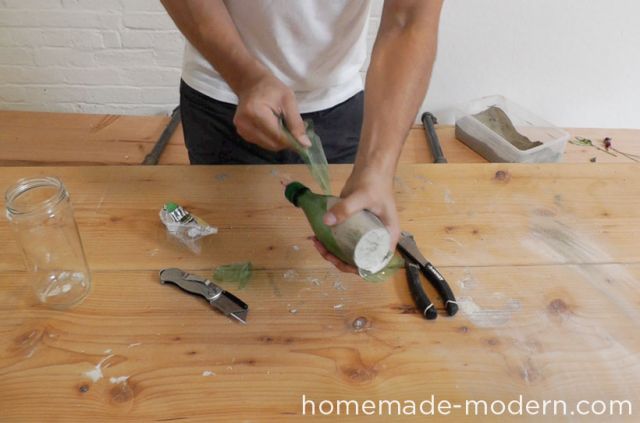
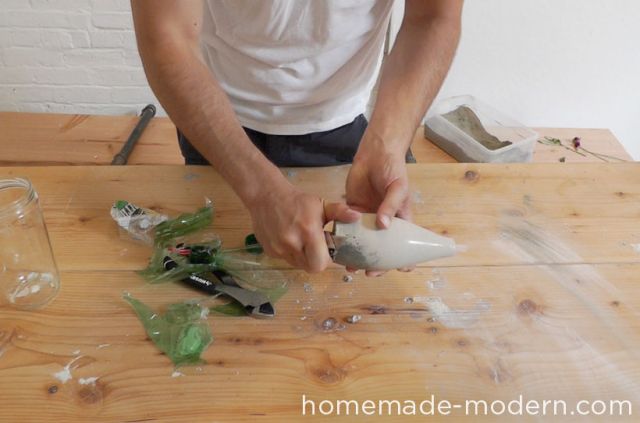
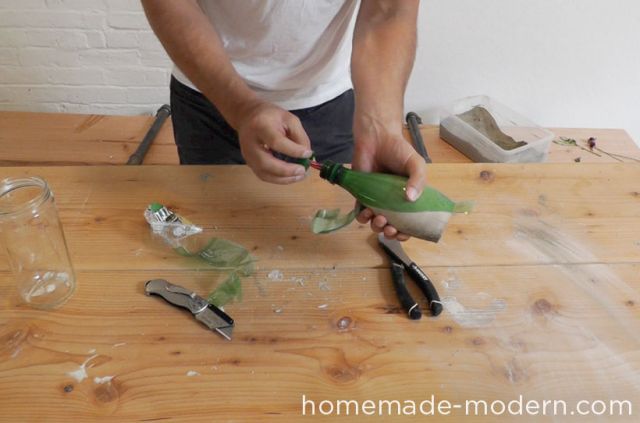
#9 STEP 4: Remove the Bottles
For plastic bottles, let the concrete cure at least 24 hours before gently cutting away the plastic with a box cutter and diagonal pliers. The concrete is not fully cured and the vases are a little fragile, which is good because you can scrape the bottom of the vases flat if need be. Vases cast in glass need to have the bottles broken off around them. I recommend waiting 4-5 days to let the concrete cure before breaking the glass with light taps from a hammer.
#10 STEP 4: Continued
#11 STEP 4: Continued

#12 STEP 4: Continued
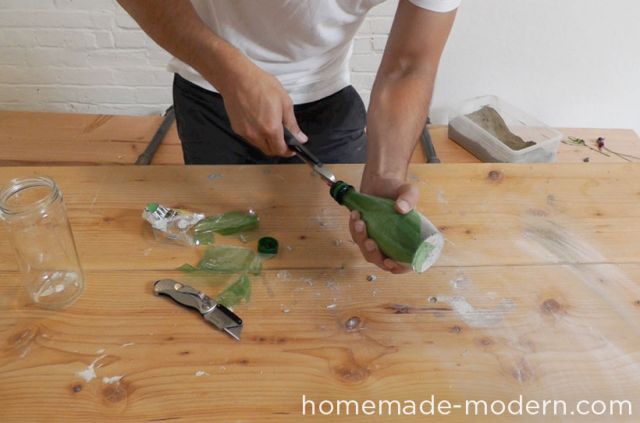
#13 STEP 5: Remove the Inner Part of the Mold
If you used a plastic pen or candle for the inner part of the mold, I recommend applying heat before removing it. I had a few vases break as I tried to remove the pens. For the tests tubes, I just used diagonal pliers to crush them into fragments that could be poured out.
#14 STEP 5: Continued
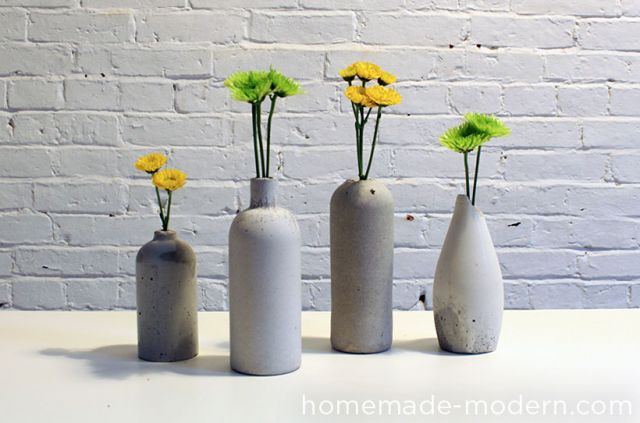
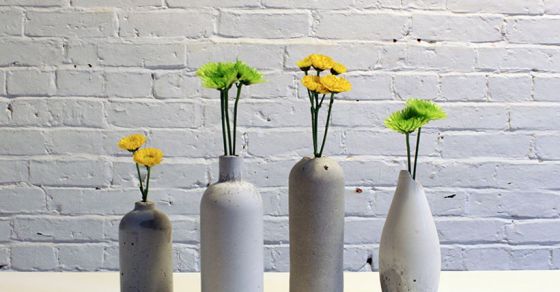
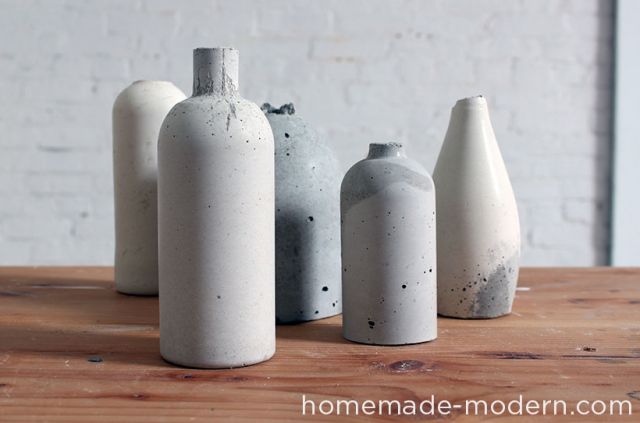
#15 The Finished Product
#16 The Finished Product w/ Flowers