
Although it may sound a little silly, there few things more annoying than painting your nails, only to then have it smudge or crack. Well no more! Here are nail hacks you should be using to keep your nails strong, healthy and beautiful.
advertisement
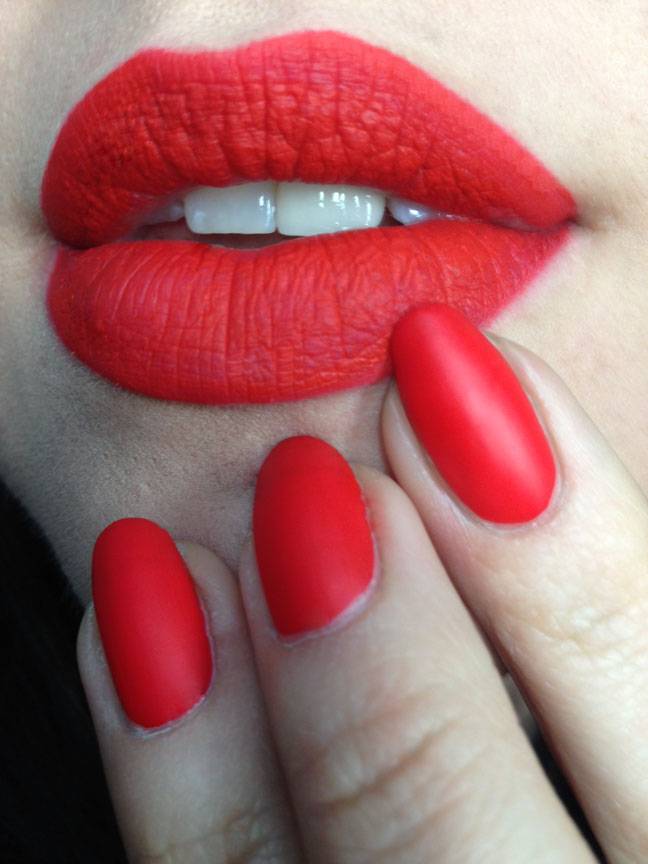
#1 Out of nail polish!
We've all been there. You've started painting your nails before a night on the town, but you soon discover that you're almost out of nail polish. Don't panic! You can rescue the situation if you have a lipstick that's a similar color to hand. Simply use a lip makeup brush to apply color from the lipstick onto your nails.
You can now lock in the color by adding a coat of clear nail polish on top. Fantastic!
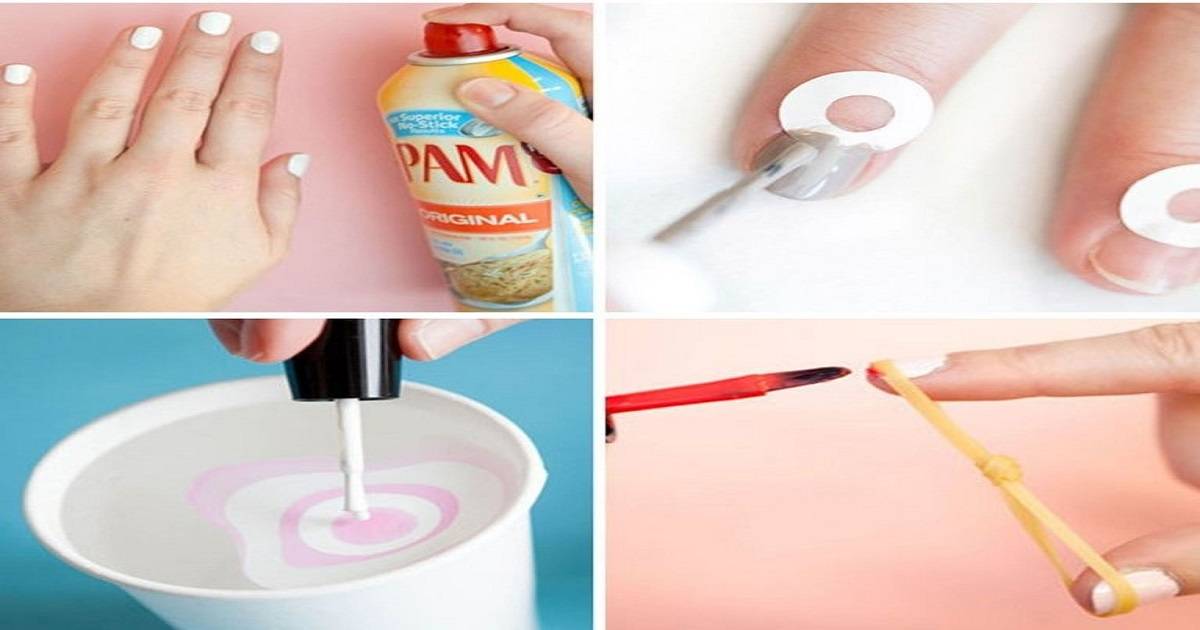
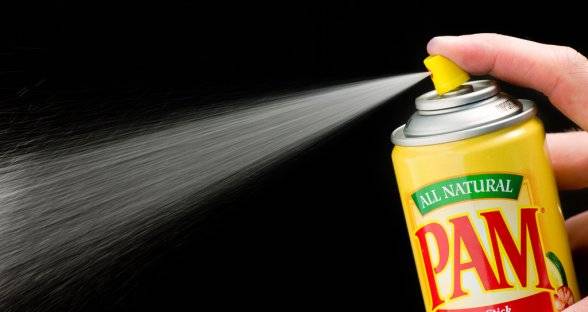
#2 The polish isn't drying...
Yep. We're all rather tired of having to wait for what seems like an eternity for the nail polish to dry. Sometimes, we even accidentally smudge the finish when we think the polish has dried. How irritating! However, there are some simple solutions to this annoying problem.
One fairly unusual trick uses cooking spray — a spray derived from plants that can be used to make sure nothing sticks to cookware. If you spray your nails right after painting them (make sure to put some kitchen roll down first), the polish will be dry in no time.
If you don't have any cooking spray, briefly put your nails in cold water. That should be just as effective.
advertisement
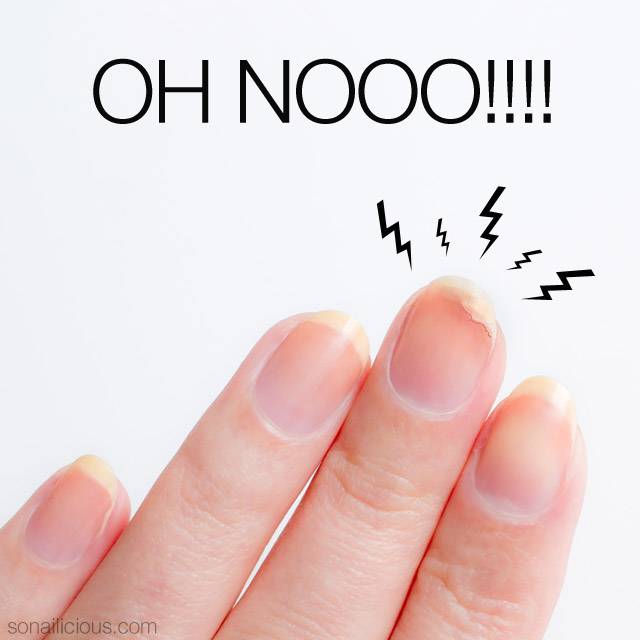
#3 Oh no, broken nail!
This mishap often occurs when you have longer nails. A tea bag and scissors may be able to come to your rescue though. Simply cut a small corner from the tea bag and place it at the spot where the nail is torn. Apply some liquid adhesive and leave it to sit for a short while. Before the glue has dried, remove the piece of tea bag and paint your nails as you normally would.
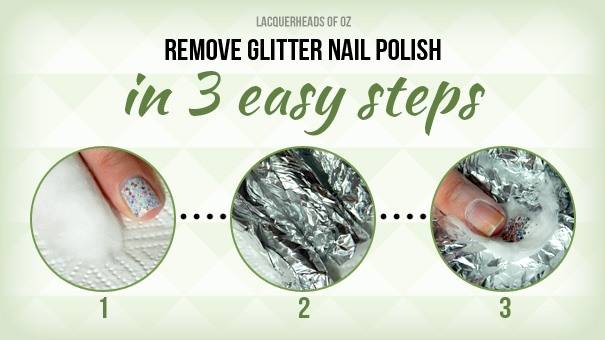
#4 Remove stubborn glitter polish using tin foil
For this method to work, you must first place your cotton pad or ball in nail polish remover and let it soak in. Then place the saturated cotton on your nail and wrap your finger in tin foil, making sure it’s tight. After 10 minutes that glitter polish should come straight off.
advertisement
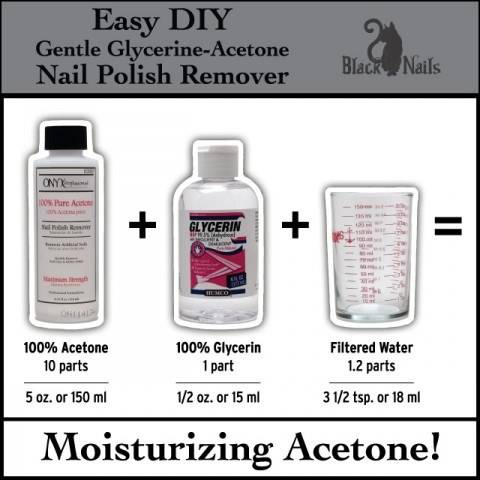
#5 Acetone + Glycerine = Best nail polish remover ever
This mix is a wonderful replacement for damaging 100% acetone removers.
advertisement
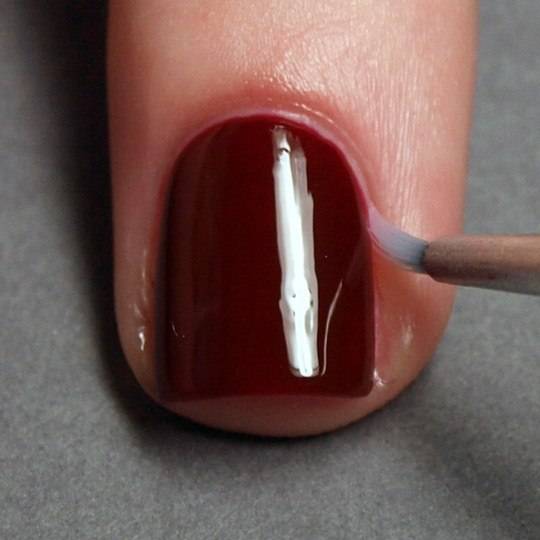
#6 Remove mistakes without ruining the nail polish
Dip a thin makeup brush or paint brush into your polish remover and clean up those messy bits!
advertisement
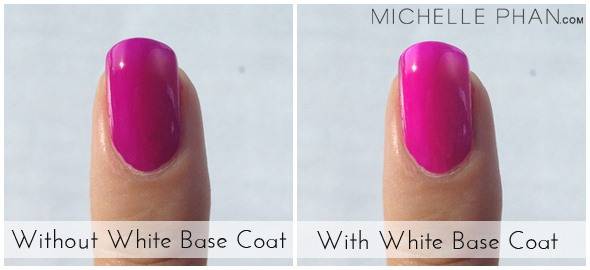
#7 Use a white base coat to make your nails neon
Unless the polish you’re using is really opaque, the natural tint of your nails will alter its shade. To have the polish show up more true to color (like it is in the bottle), apply a white polish beforehand to cancel out that natural nail tint and amplify the color.
advertisement
#8 Apply a thick layer of hand cream before removing nail polish
Dark polish can stain your skin, especially if you’re pale. By applying a layer of hand cream you make it almost impossible for the polish to stain.

advertisement
#9 Speed up your drying time by soaking your nails in ice water after painting them.
Believe it or not, the cold water will set the paint and help your nails dry quicker.

advertisement
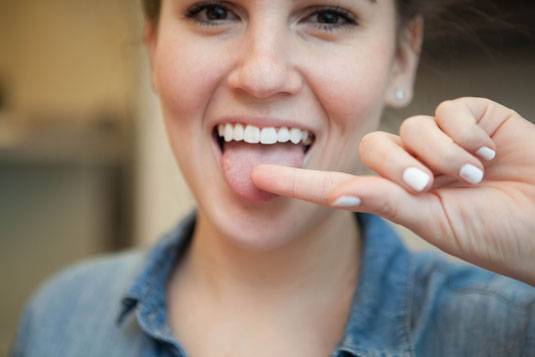
#10 Use the tip of your tongue to fix smudged polish.
It’s so crazy it just might work, and it actually does! If you smudge almost-dry nails, readjust the paint with the tip of your tongue, because unlike your finger, it’s soft enough to fix the paint without leaving any imprints behind.
advertisement
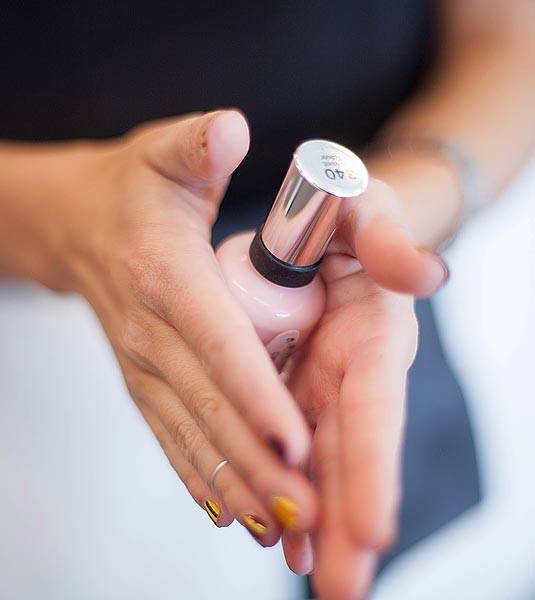
#11 Roll your nail polish bottle to avoid air bubbles.
We’re used to shaking our bottles up and down before we paint our nails to mix up the polish, but doing this can actually create bubbles. To mix things up, (bubble-free, that is), hold the bottle between your palms and rub your hands back and forth instead.
advertisement
#12 Loosen a stubborn nail polish lid by soaking it in hot water.
Can’t get your nail polish open? Just add some hot water to the mix. Fill a glass with steaming water high enough to cover the lid, but being careful not to soak the bottle of paint, as that can mess up the consistency of the polish. Wait a few minutes before taking the nail polish out of the water. Once you do, you’ll easily be able to open the lid.

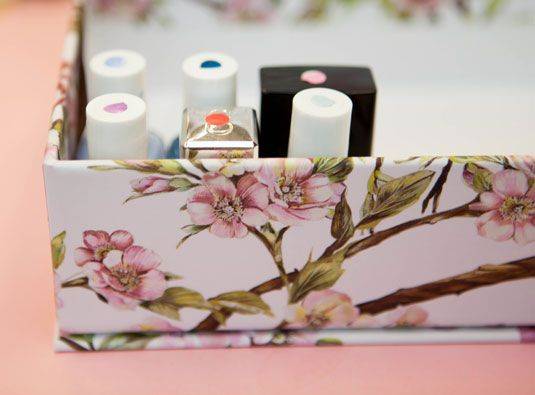
#13 Store your nail polish upright in a box with painted stickers on top to indicate the colors.
To keep your polishes organized, paint a strip of polish on an adhesive file folder label, punch out a hole, and stick the paint sample on the top of the nail polish bottle. Repeat this for all of your polishes, set them in a box, and store them in a cool, dry place.
advertisement
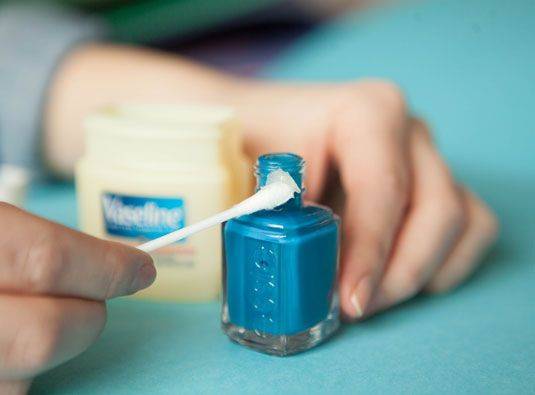
#14 Spread petroleum jelly around the lip of the bottle before closing it to prevent the polish from drying shut.
With a cotton swab, wipe a small amount of petroleum jelly into the ridges on the top of the bottle. This will make it easier to open the next time and prevent it from sealing shut.
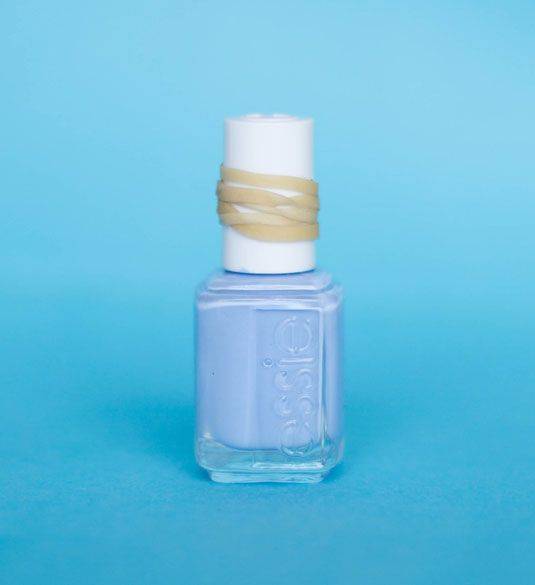
#15 Unscrew a tight lid by wrapping a rubber band around the handle for better grip.
Wrap a large rubber band around the top of a nail polish bottle before trying to open it. The rubber will provide a better grip for twisting.
advertisement
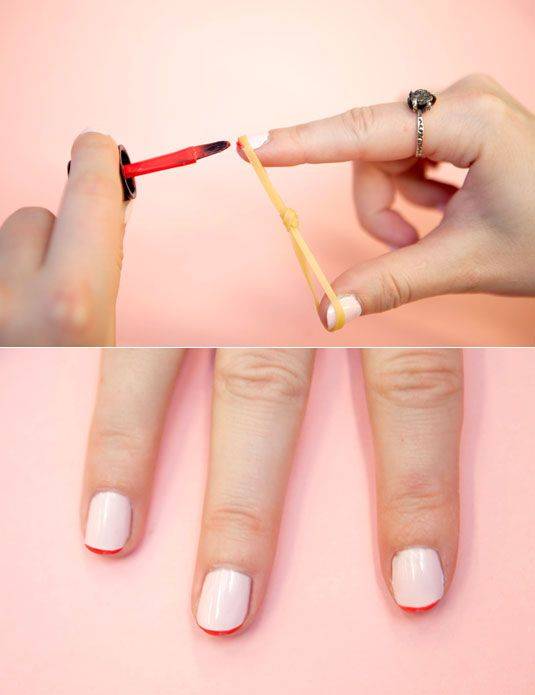
#16 Create a French manicure with ease by looping a rubber band around your fingertip.
Take a rubber band and tie it in the middle. Loop one end over your thumb to create tension on the band, and align the other end over the top of your nail and just below the edge to create the French tip shape. Use the edge of the rubber band as a guide, and paint the tip of your nail.
#17 To prevent the tips of your painted nails from chipping, paint two basecoat layers:
one on the top half of your nail and the second coat over the entire nail.
Paint the first layer of your basecoat polish on the top half portion of your nails only. After your nails have dried, paint a second coat of polish, but this time cover the entire nail as you normally would. This technique will help the polish on the tips of your nails — which are more prone to chipping — last longer.
