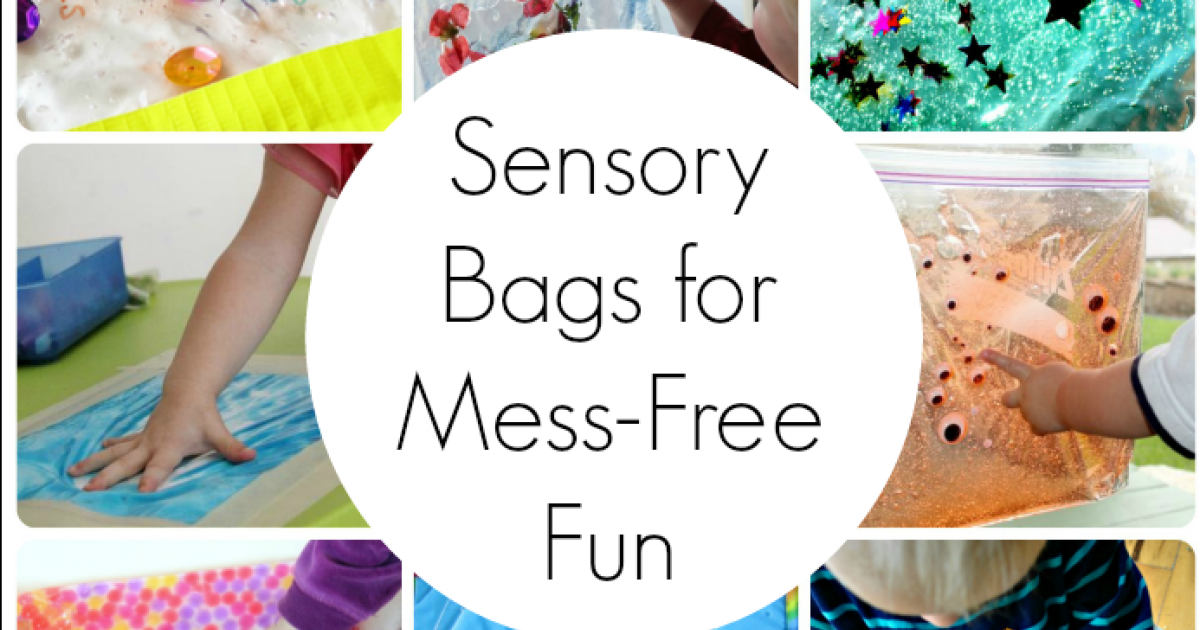
Sensory Bags For Engaging, Mess-Free Play
By
Editorial Staff in
Facts
On 27th January 2016
Have you heard of sensory bags? They’re a great way to get sensory play to the kiddos with a lot less mess.
They’re also great for younger children who are still mouthing things. If you’re looking for some engaging sensory bag ideas, check out these fun ideas!
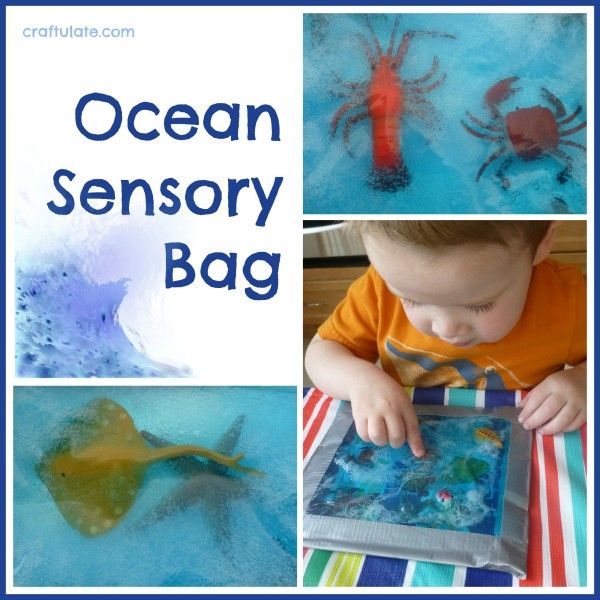
Ocean Sensory Bag
To make this sensory bag I used:
Dollar store blue shower gel
Clear resealable bag (good quality!)
Small plastic ocean creatures
Shells
Duct tape
I started with a gallon size resealable bag as pictured above, but the 12oz bottle of shower gel was nowhere near enough for it, so I transferred it all to a quart size bag. Then I added the creatures and shells, and sealed all the edges with duct tape. In the end I didn't use the dolphin or the shark as I was worried about the fins bursting the bag!
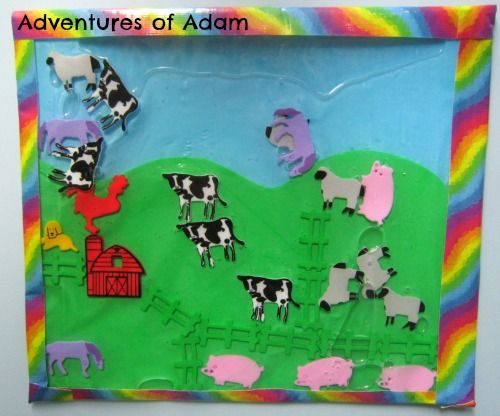
Farmyard Sensory Bag
Equipment:
* Ziploc Heavy Duty Freezer Bags
* A4 Foam Sheets in green and blue
* Scissors
* Farm animal foam stickers
* Baby oil
* Rainbow Duck Tape
I created a backdrop using green and blue foam sheets. I used foam sheets rather than paper or card because I wanted to add baby oil to the bag. I stuck down some fencing and farmyard animal stickers onto the foam sheets.
I placed several additional farmyard animals to the bag but this time I didn't peel away their backing. I poured about 100ml of baby oil into the bag and closed the bag securely.
To ensure the zip-loc bag did not break I added an extra strip of Rainbow Duck Tape along the four edges. This gives the bag a colourful border but is not essential.
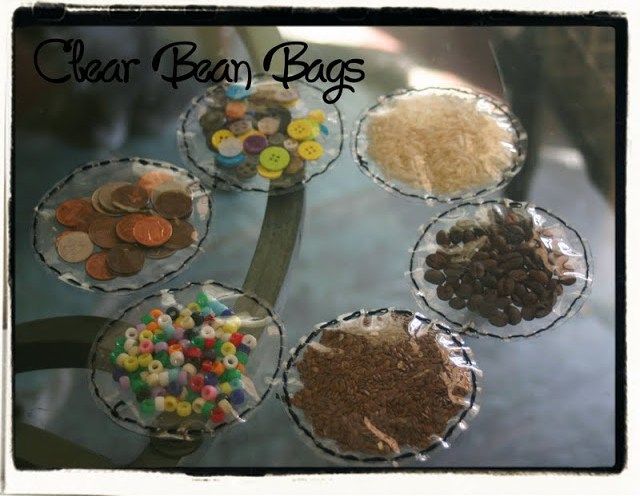
Fun Clear Bean Bags
First, I cut out a lot of soft plastic circles. I just used an old zippered container that came with a blanket or comforter I bought a long time ago. Then, I sewed around the circles with a thick thread, leaving a hole open at the top. I added the contents: buttons, beads, coins, coffee beans, flax seeds, and rice. Finally, I sewed the last bit of the circle together.
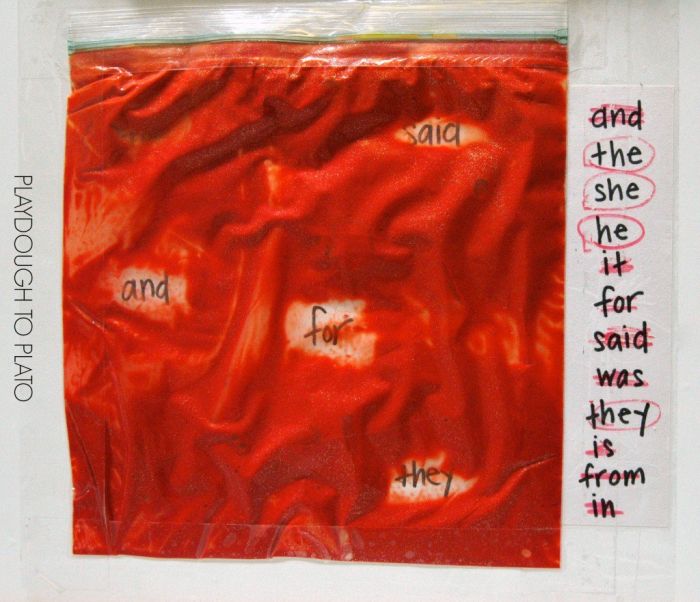
Squish and Seek Sight Words
The prep for this was as easy as it comes. I quickly wrote a list of sight words down the right hand side of a piece of white construction paper. Then I wrote the same words randomly on the left side of the paper, the part that would go under the Ziplock baggie of paint. I taped it down to the table with some packing tape and invited my son to come squish and seek.
I told him all the words on his list were hidden under the paint. He immediately began squishing and squashing the paint around until she found the first word. "For," he exclaimed and crossed it off her list with a marker.
As he searched for all the words on his list, I circled the words that gave him a bit of trouble so we could work on those at a later time.
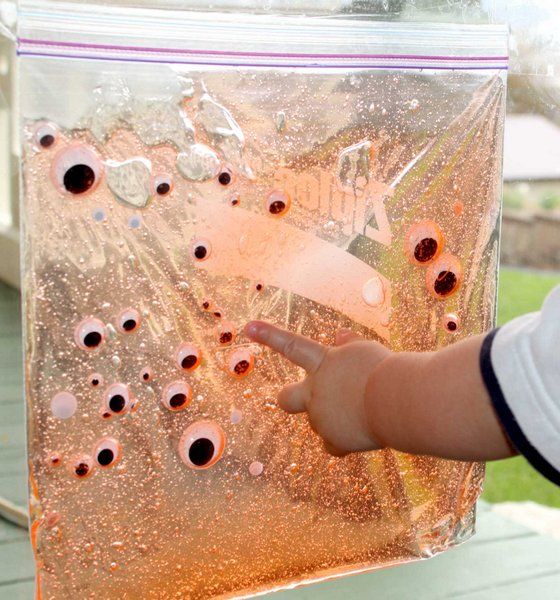
Toddler Sensory Bag with Slimy Eyes
What's in this sensory bag? Simply just hair gel.
Add googly eyes for some Halloween fun.
Our hair gel just happened to be orange, so there was no coloring needed to get our Halloween effect. If you have clear hair gel add food coloring or paint to the bag (or two primary colors to learn about mixing!) for added sensory and mixing fun!
Tape it on a window that gets great sunlight and you've created a spooky suncatcher!
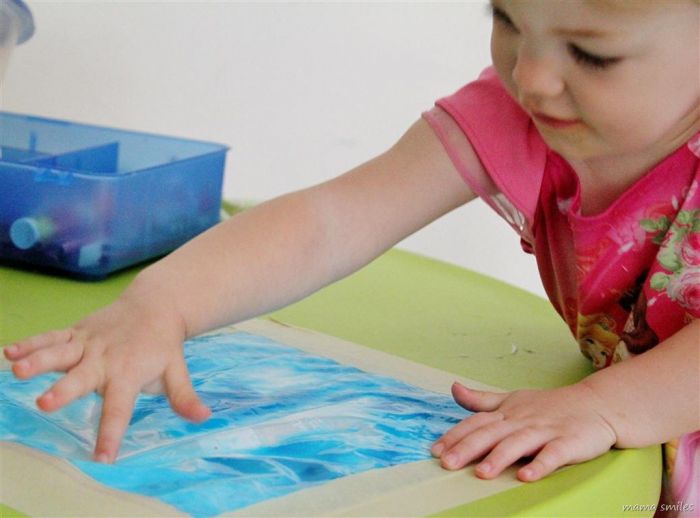
Mess-Free Art for Kids
This activity is a super-simple way to let your child finger paint without dealing with the mess! Take a plastic ziploc bag (freezer works best, since the plastic is stronger), and add paint or a similar colored substance. We have used paint, shampoo, hair gel you name it, and we have probably tried it. I think hair gel from the dollar store is our favorite texture! You can add food coloring or paint to the non-paint substances. I prefer to use washable paint, since the plastic bag can break, and it's hard to get food coloring out of clothes and even off of hands!
I put a sheet of white paper underneath to allow for greater contrast, and I taped the edges down with masking tape. Painter's tape would work just as well, and you could even use scotch tape, although that might be a bit more challenging to remove from the table.
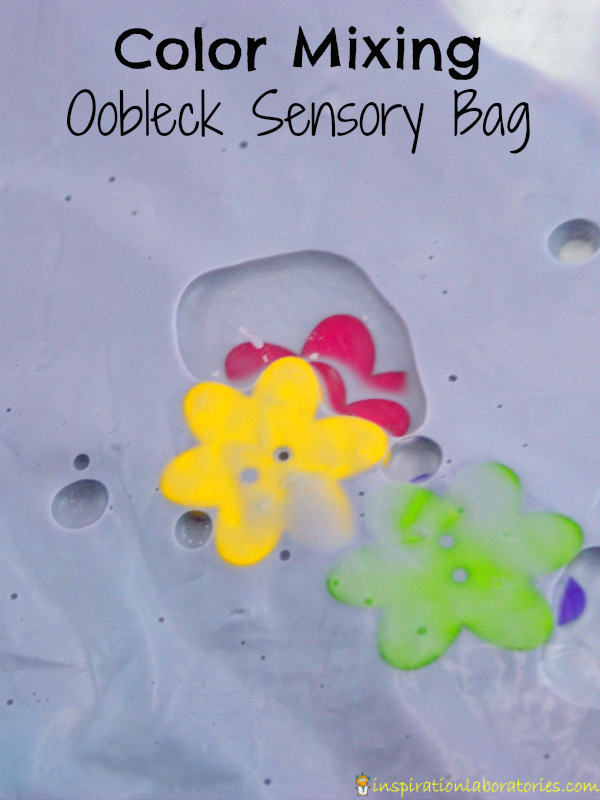
Color Mixing Oobleck Sensory Bag
Supplies You'll Need:
cornstarch
water
freezer bags (we used the gallon size)
mixing bowl
measuring spoons/cups
liquid watercolors or food coloring
objects to add to the bag (flat buttons, pom poms, etc.)
In a bowl, we mixed together cornstarch and water. We started with 3 tablespoons of cornstarch and added 3 tablespoons of water. Our mixture was a little too runny, so we added another tablespoon of cornstarch. To get the amount of oobleck we wanted for our gallon size freezer bag, we made two more batches mixing equal parts cornstarch and water and adding extra cornstarch if needed. In total we used 11 tablespoons of cornstarch and 9 tablespoons of water. This is 2/3 cup of cornstarch and about a 1/2 cup of water. Adding a touch more water will make your sensory bag a little easier to squish.
After adding the oobleck to the freezer bag, seal the bag tightly removing as much air as possible. This oobleck sensory bag is great without any additional objects or colors. There are these cool bubbles that form in the oobleck. Squish them and push them around.
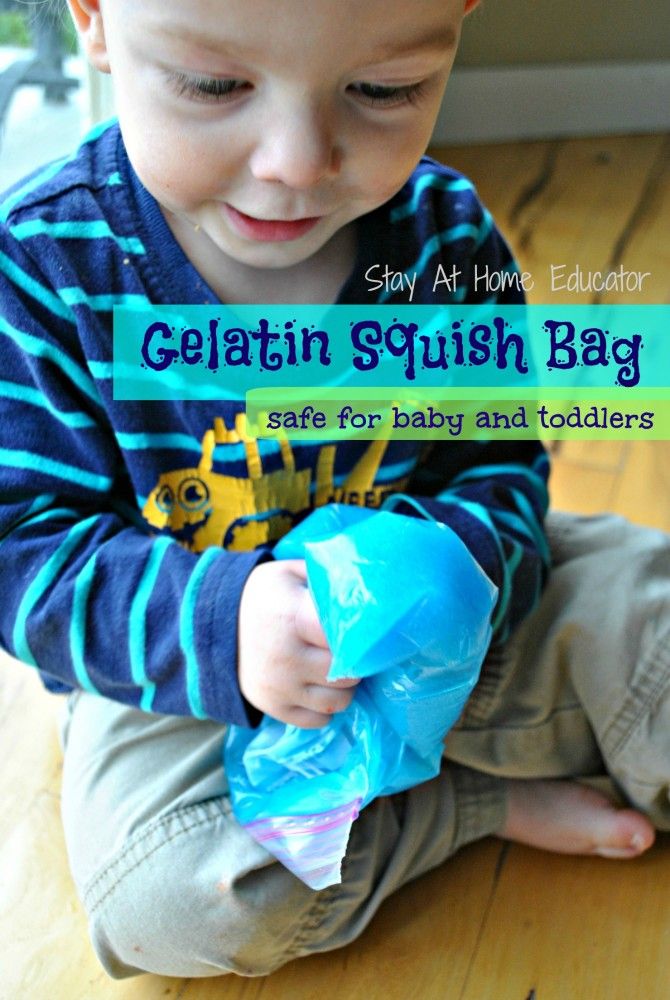
Gelatin Squish Bags – An Edible Sensory Bag For Babies
Babies love to explore through their senses. Gelatin squish bags are the perfect way to allow baby to explore in a safe way, because the contents of these sensory bags are edible.
Ok, so the bag itself is obviously not edible, but the contents of the bag make it edible. Given that your baby or toddler doesn't have any food allergies, the filler for this squish bag is perfectly safe for babies to taste, and dare I sayeatjust in case the bag does get punctured during play.
MATERIALS NEEDED TO MAKE AN EDIBLE SENSORY BAG FOR BABY
Knox Gelatin
cold water
2-Cup Measuring Cup
optional Wilton Kosher Icing Colors
zip top freezer bag, quart size
Japanese Washi Masking Tape or other masking tape
HOW TO MAKE A GELATIN SQUISH BAG
Measure one cup cold water into a two cup measuring cup
Add some food coloring to your desire. Mix.
Add one packet of Knox Gelatin to the colored water. Mix.
Allow gelatin to sit for about five minutes to set up.
Carefully transfer the gelatin mixture to the quart size freezer bag.
Add washi tape to the seal of the bag to prevent baby from trying to open it.
Offer to baby and have fun!
***Note: the gelatin will continue to thicken a bit. If you find it is too thick, just add more water.***
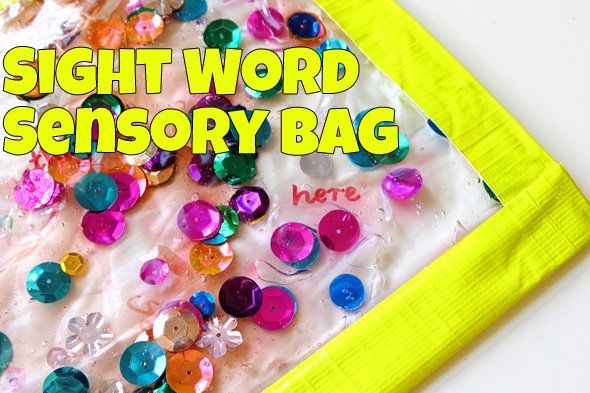
Sight Word Sensory Bag
You will need:
1 laminate sheet that has already been sealed closed with a laminating machine
Permanent marker pen(s) make sure they are waterproof
Scissors
1 self sealing, plastic sandwich bag
1 tub hair gel (you could also use dish soap or liquid hand soap)
Collection of colourful sequins
Heavy duty tape
To make:
1. Write your collection of sight words directly onto the sheet of clear laminate with the permanent marker. I used quite small writing to make the hunt for words that little bit trickier. Cut each of the words out. I rounded the corners of each small sight word token to reduce the likelihood of them poking through the plastic bag.
2. Tip the hair gel into your plastic bag (please note, I cut down a much larger bag to make our sensory bag which is why I am filling the bag from the bottom, you can just use the regular opening).
3. Add your collection of sequins. You want enough sequins to make the search for sight words a little tricky.
4. Add your small sight word tokens (A note of caution here, I just dumped the words all in together and many of them stuck to each other with the hair gel. They aren't too difficult to separate but you might want to sprinkle them out a little more to help prevent this problem).
5. Gently spread out the contents of the bag, removing as much air as possible before sealing the bag. Fold a length of tape over each side of the bag to reinforce the seams.
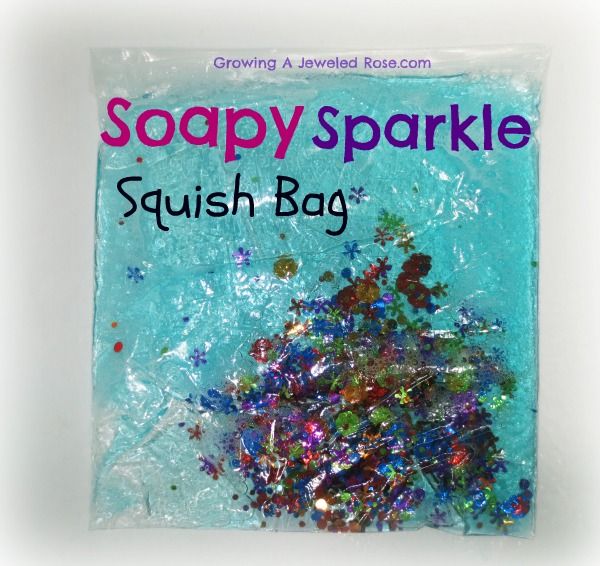
Soapy Sparkle Squish Bag
To make it, I filled a ziplock bag with one bottle of blue ocean body wash which I purchased at The Dollar Tree. Then I tossed in a bunch of confetti that we had left over. I reinforced the ziplock bag with clear packaging tape before giving it to the kids.
This sensory bag is so FUN! The more you handle it the more soapy bubbles you create, and the best part, they sparkle!