You’ve Been Burning Candles Wrong Your Whole Life
By
Editorial Staff in
Facts
On 15th February 2017
All you need to know:
Trim the wick every time, burn until the wax is melted all the way across, and keep the candle away from drafts of air.
This might come as a shock if you didn’t know there’s a right way to burn a candle. Most people have no idea how.
Follow the steps in order to get more mileage out of your favorite candles.
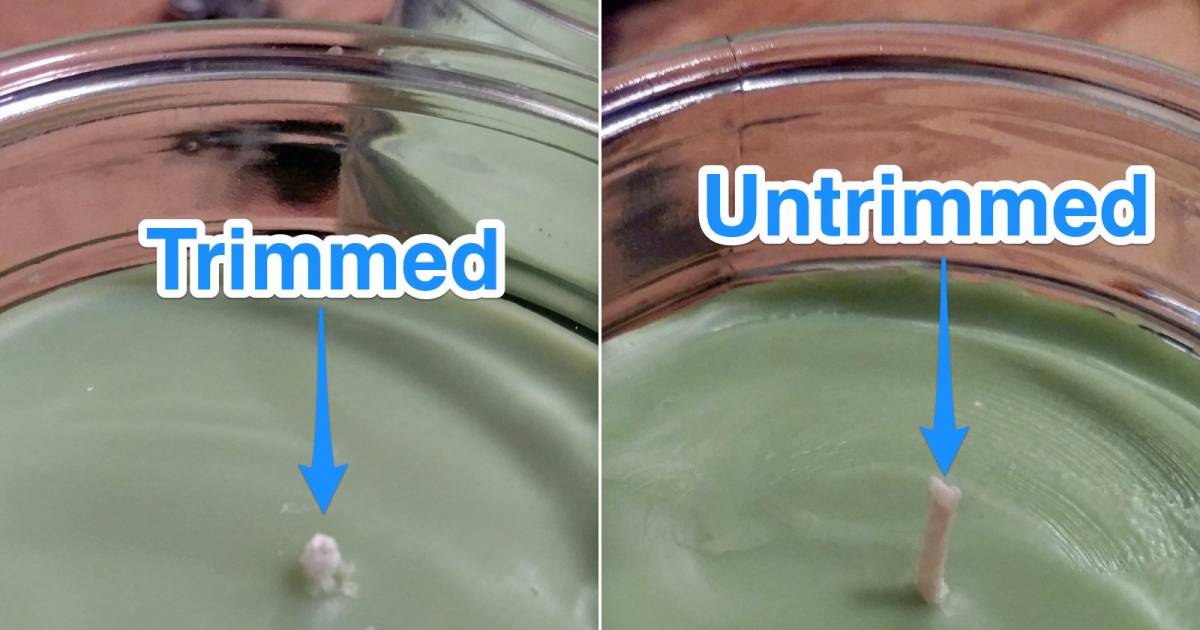
#1 Trim the wick. Every. Single. Time.
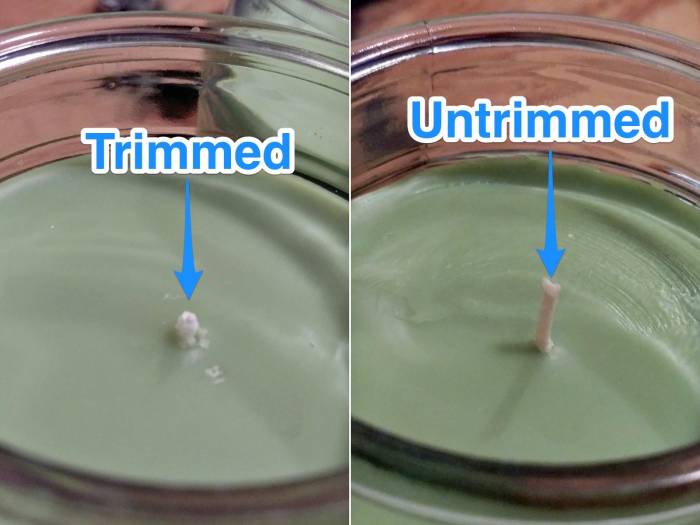
Each time you want to burn your candle, start by trimming the wick to between 1/8 and 1/4 inches long. You can use scissors, nail clippers (that’s my personal favorite), or a specialized wick trimmer, but no matter what you do, always trim.
This is necessary because a trimmed wick will give you cleaner, brighter burn while compared to untrimmed wicks.
Long wicks are a top cause of those nasty smoky stains that end up on your glass jar candles. Trimming the wick keeps the flame in control and prevents those marks from forming in the first place.
#2 Let the wax melt all the way across.
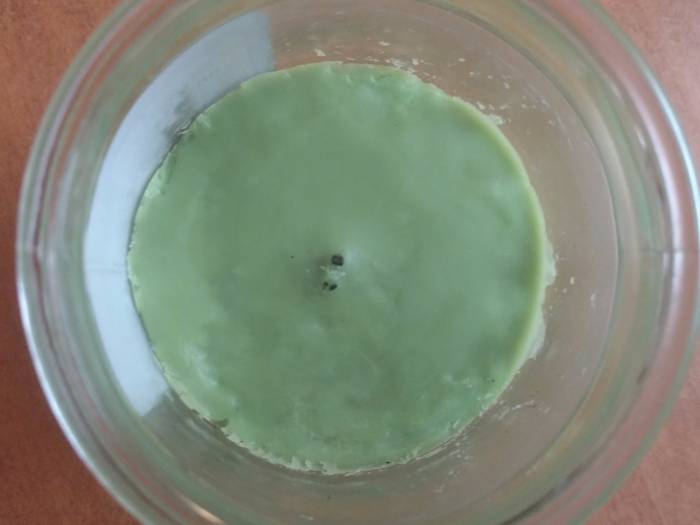
Once you light your candle, wait until the top layer of wax has melted all the way across before you blow it out. This could take a few hours, so don’t burn a candle unless you’ve got time to kill.
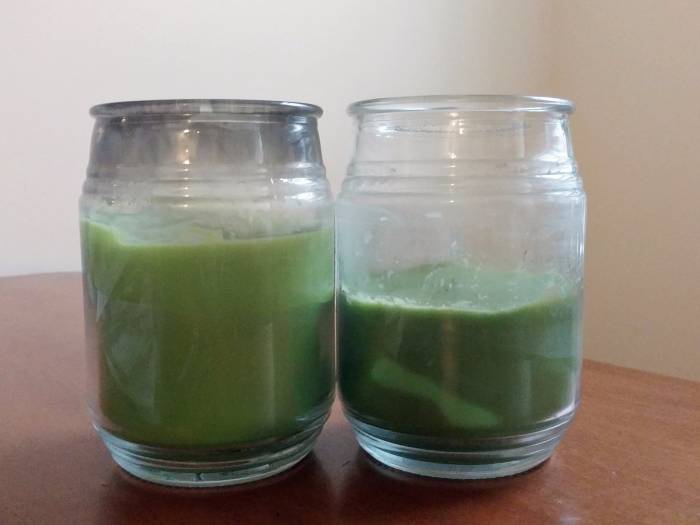
It sounds time consuming, but if you melt the wax all the way across every time you burn, the surface of the candle will stay flat and the sides of the jar will stay clean, all the way down until the candle is spent.
#3 Buy multi-wick candles.
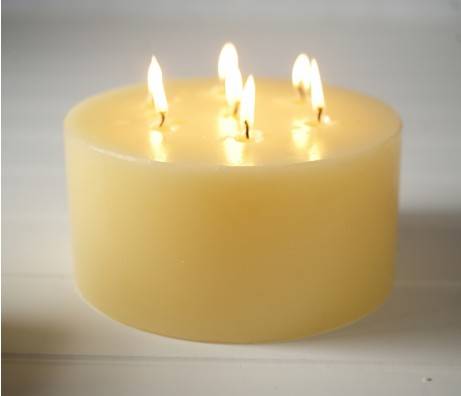
Buy a candle with two or three wicks. More flames means more heat – which leads to a quicker melt.
On that note: Be wary of extra-wide candles that only have one wick. If the candle surface has just one wick and a diameter of more than 3 or 4 inches, don’t buy it. One wick will never produce enough heat to melt it all the way across.
#4 Keep the flame away from moving air.
Moving air can disturb the flame, leading to even more unsightly black marks on the glass.
Now you can light candles like a pro!